Table of Contents
Image @artbygoldie
While tech house is definitely a powerhouse genre at the moment and has been for quite some time, to be honest, few artists are knocking it out of the park that is this oversaturated genre. So when a record stumbles into my inbox absolutely crushes it and nails everything that I love about swinging, energetic, sultry, and banging tech house, I got to dig a little deeper and see how they made the record.
Azzecca’s latest track, “IDK,” which was recently released on Higher Ground is a masterclass in everything that tech house SHOULD be and should be something that hungry producers should study if they have any hope of standing out and making waves in this space and genre. So listen to the track below a few times to acclimate your ears and eyes to what Azzecca will be sharing in this latest iteration of How It Was Made: Azzecca – IDK.
Arturia Pigments
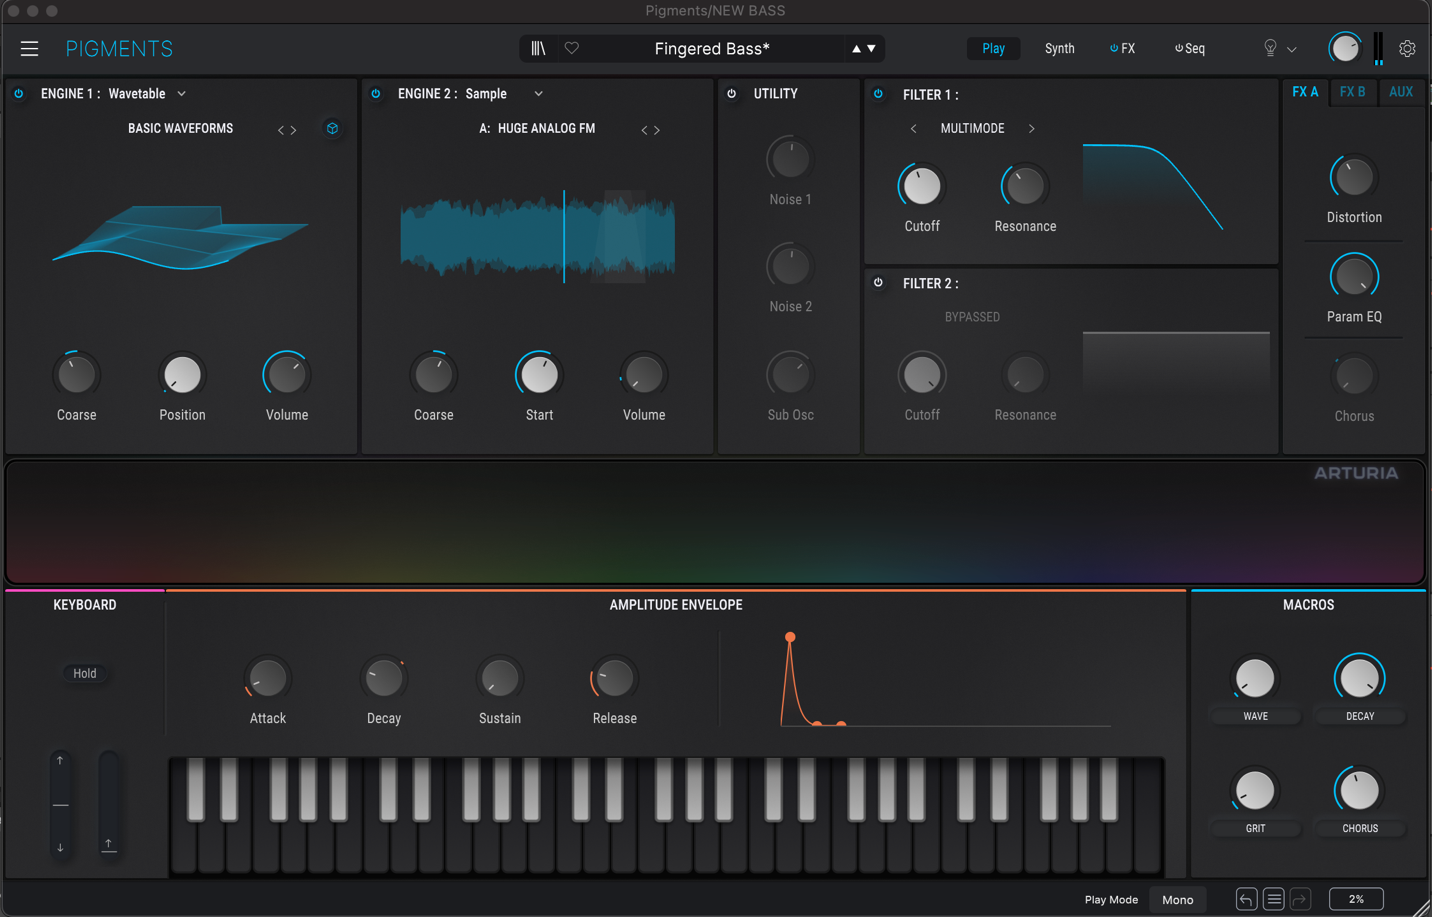
I bought Pigments as part of the big ‘Arturia Collection V’ package. I made the mistake of slowly building my collection of Arturia VST’s one at a time, before realising I was eventually going to buy them all, and just getting the whole collection from the start could have saved me hundreds of dollars!
Where most Arturia VSTs are recreations of vintage analog gear, Pigments is seriously forward thinking and in depth in regards to sound design. It’s got it all, subtractive, wavetable, FM, granular synthesis and something I’d never heard of, called harmonic synthesis. There’s loads of ways to manipulate the sounds to really create something unique. Part of what makes the synth so fun is that it’s so innovative that you can endlessly tweak without any real idea of what you’re doing, and it will constantly surprise you with interesting results.
I used Pigments for the bassline, using three instances of the synth. One was a low-passed saw wave, then added another layer using the preset ‘fingered bass’, slightly tweaked to give it a ‘twangy’ character, and a unique vibe. Both these layers had the very bottom end EQ’d out and replaced with a nice solid sine wave to give that consistent weight.
I’d definitely recommend the whole Arturia Collection to any producer from novice to pro.
My favourite thing about it, is you can browse presets for the entire VST collection, using ‘analog lab’, which is a vast library of sounds, all neatly organized, something I could never do myself!. Sketching ideas using this library is so quick and inspiring
Arturia Fragments
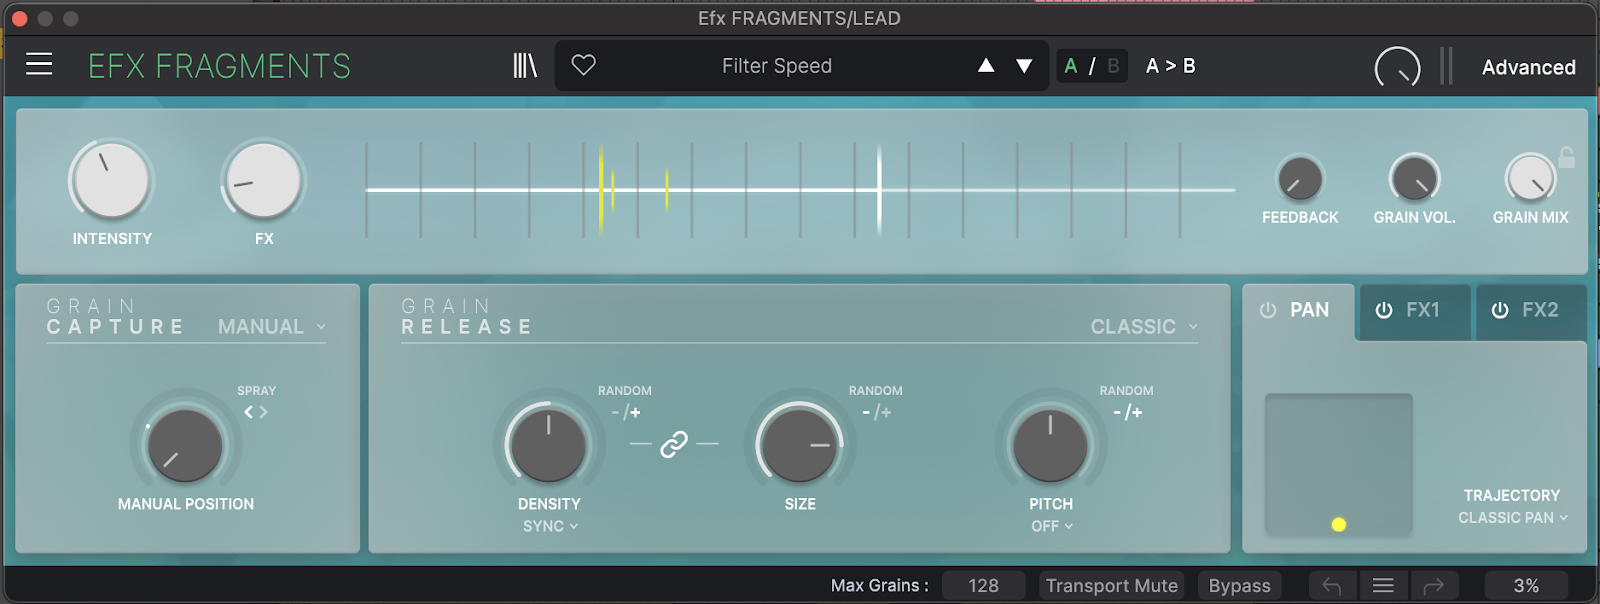
Anyone who listens to my music can probably tell, I’m obsessed with tripped out, dubby, psychedelic effects. I love to really go in on this stuff to put the track in a ‘world’ and to have weird textures feeling like they’re floating around you. On this track I used a lot of granular effects on the vocals to get some cool cosmic effects. I put some sections of the vocal through some Arturia Fragments followed by the stock Ableton delay with a ton of feedback on it, cycled through the presets until I found some stuff I liked.
The good thing about granular effects, is that you don’t need to know how it works to use it. Honestly, I don’t even want to know how it works. Part of the fun is, throwing it on, cycling through presets, tweaking random parameters, and seeing what unexpected and chaotic things I can make it do. Once I have some results I’m happy with, I always convert the results to audio, as the effects are so unpredictable, I want to make sure they’re locked in once I’m happy with them.
I’d definitely recommend getting into all things granular. As well as Arturia Fragments, I love Output Portal, Aqusmatic Deladus Delay, and have recently really got into Max for Live’s free plugin, Granulator II.
Wavesfactory Trackspacer.
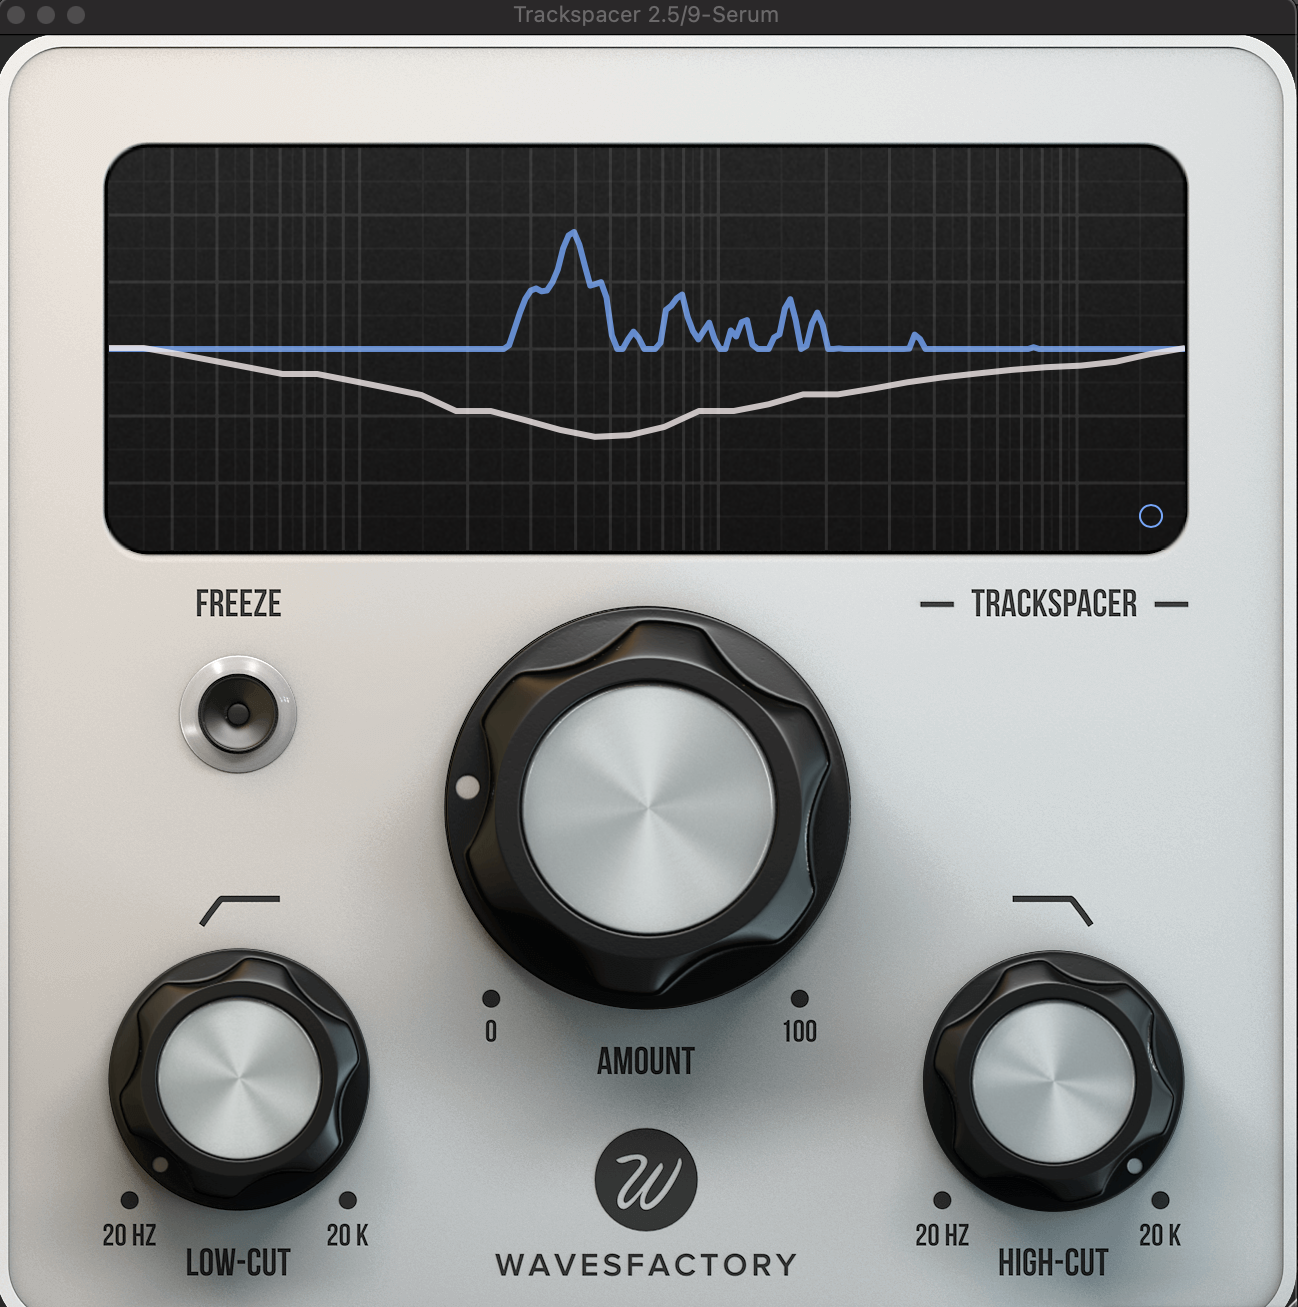
Wavesfactory Trackspacer is something I got into pretty recently after hearing a lot of friends really hyping it up.
For me it’s a bit of a last resort when all else fails. I’m really a believer in keeping competing instruments away from each other in the arrangement, and not having too many lead instruments playing at the same time, but sometimes it can’t be helped, and Trackspacer can really save you a lot of time and headaches in the mixing stage.
On ‘IDK’ I used it at certain points to keep certain synths from clashing with the vocal.
I’d put it on the synth, and side chain the vocal through it, to duck the clashing frequencies, and it instantly creates such a cleaner mix.
Before I got the plugin, I’d be always battling with volume automation, and drawing EQ’s to try and carve out space for everybody, where now, I can just throw on the plugin to do the work.
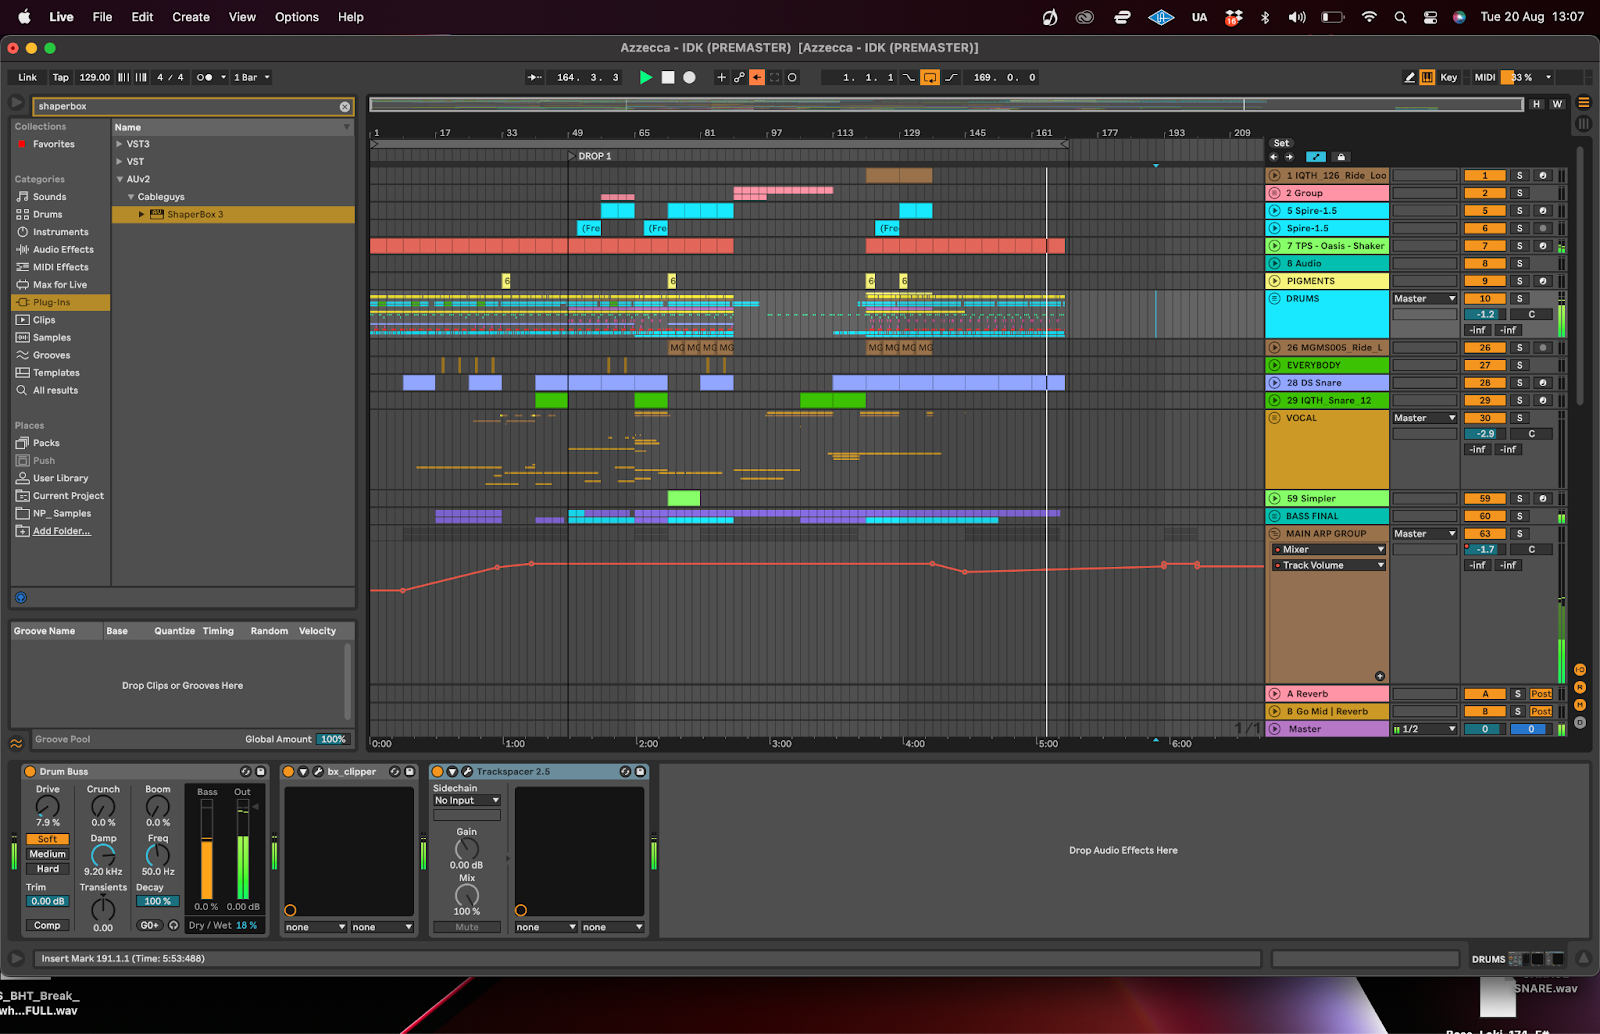
Cable Guys Shaperbox.
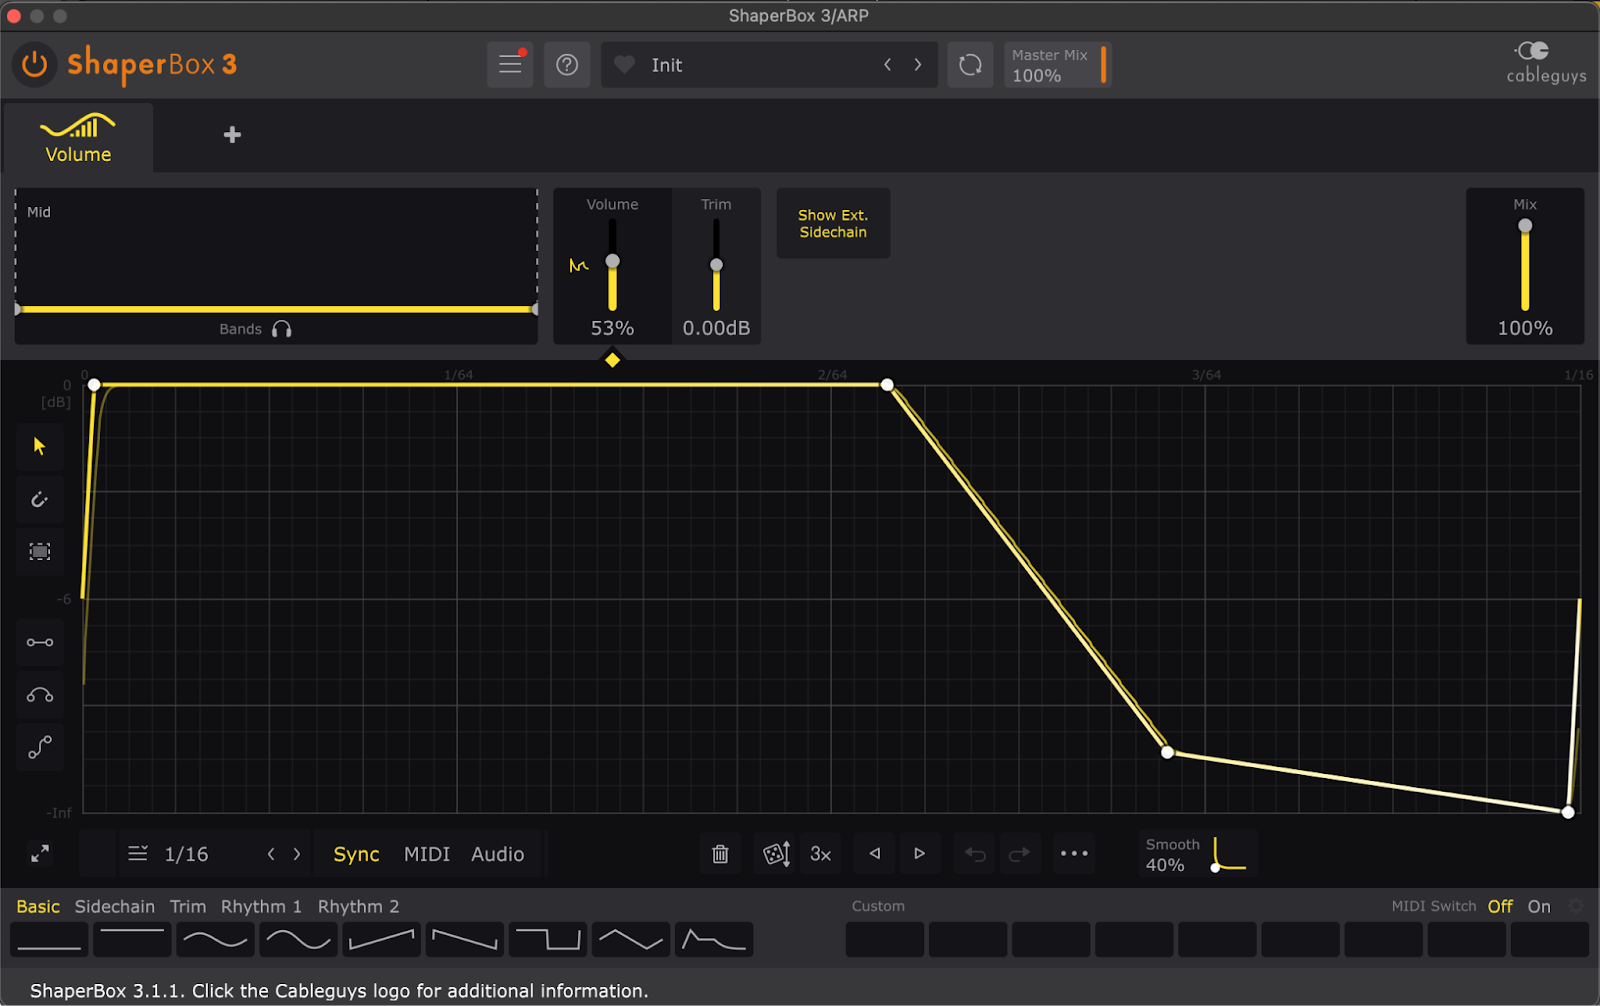
Another great tool for sound design and mixing is Cable Guys Shaperbox. This plugin has tons of different uses, ranging from simple volume and filter automation, to completely mangling up sounds. I only use it for a fraction of what its actually capable of, but definately need to get into it more when I have time.
I typically use the volume tool to add rhythmic, ‘trance-gate’ style chops to vocals and soaring leads.
I’ll set up a one or two bar loop, and play around with 16th note chops, maybe leaving a few out, or linking a few, or drawing in ramps, to create interesting rhythms.
Another thing I’ll use it for is a quick way of cleaning up drums, as doing that in Ableton can be fiddly and time consuming. I sampled some tops from an old 90’s house track, something that I cheekily do alot, to add a bit of interest in the trebles. I’ll have it so quiet that you hardly hear them at all, but it really helps ‘glue’ the drums together, and makes all your one-shots feel part of the same drumkit. Sometimes the transients need cleaning up, say if some of the hits are a little early, I’ll use the volume shaper on Shaperbox to clean them up, rather than spending forever editing the audio.
The post How It Was Made: Azzecca – IDK (Higher Ground, Tech House) appeared first on Magnetic Magazine.