For months now, I’ve been focusing on these “how-it’s-made” features on Magnetic Magazine, and I’ve learned a ton about the top studio tools that some of the producers I admire are using. After releasing my own song on Magnetic Magazine Recordings, I decided to go through the process myself. So, I’m pulling back the curtain on my latest collaboration with Tulum-based producer Tiago Dima to discuss the plugins and techniques I used on our track, “Air and Darkness.”
In this feature, I’ll be diving into how I create textures, which plugins help me achieve those soft, warm, yet club-friendly sounds, and sharing a range of tips that have made the biggest impact on my production style. Before you dive into the details, give “Air and Darkness” a listen to get a feel for the vibe and sounds I’ll be breaking down in this article. Will Vance and Tiago Dima, “Air and Darkness,” out now on Magnetic Magazine Recordings.
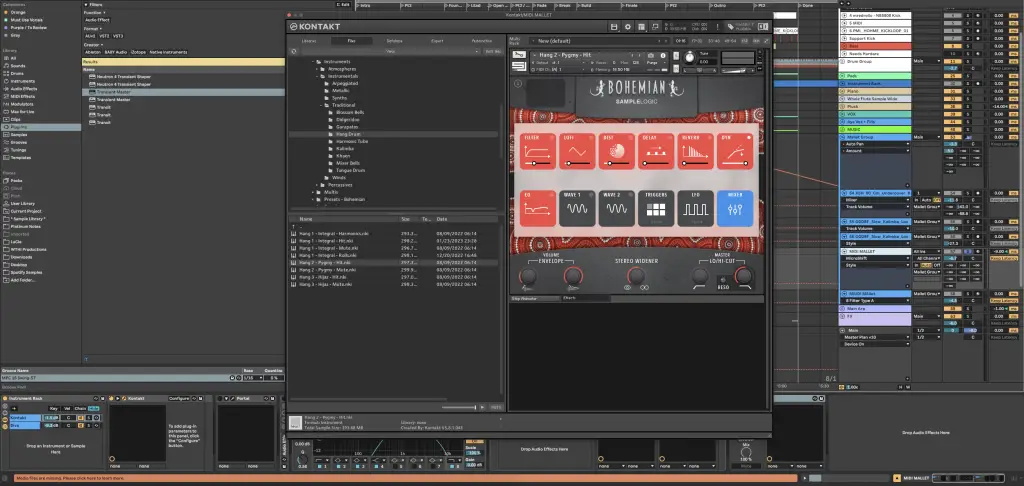
Kontakt 7 (Sample Logic’s Bohemian)

I always aim to create club-friendly music, drawing inspiration from world music for much of the melodic and textural elements. To access these sounds, I rely heavily on Native Instruments Kontakt, and one of my favorite developers for Kontakt libraries is SampleLogic. I’ve been using their Bohemian pack for over a year, ever since I reviewed it on the site. It’s packed with world-inspired sounds, textures, arpeggiators, and more, but the Hang Drum patches are my absolute favorite. They offer incredible flexibility in terms of volume envelopes, stereo widening, and other features, making this one of my go-to libraries when I need that Hang Drum sound.
I often prefer using these sounds over traditional synth arps because I feel like synth arps have become somewhat overused. Finding staccato, plucky sounds that fulfill the same melodic role can bring a fresh texture and sound to a track. For any producer looking to make world-inspired club music, I highly recommend picking up the Bohemian pack by SampleLogic. They’re one of my favorite Kontakt library creators, and their packs are incredibly versatile, showing up in almost all of my tracks.
A secret move I love to use is layering a triangle wave or a filtered saw wave from a soft synth like Diva underneath the main sound. I let Diva handle most of the automation and filtering. When the filter is closed, Diva stays tucked behind the HangDrum, but as it opens up, it brings the sound to life, adding expressiveness. When you layer and EQ it correctly, it transforms the Hang
Drum into a warmer, more synthetic instrument. It’s a perfect example of how proper layering can create a sound that’s greater than the sum of its parts.
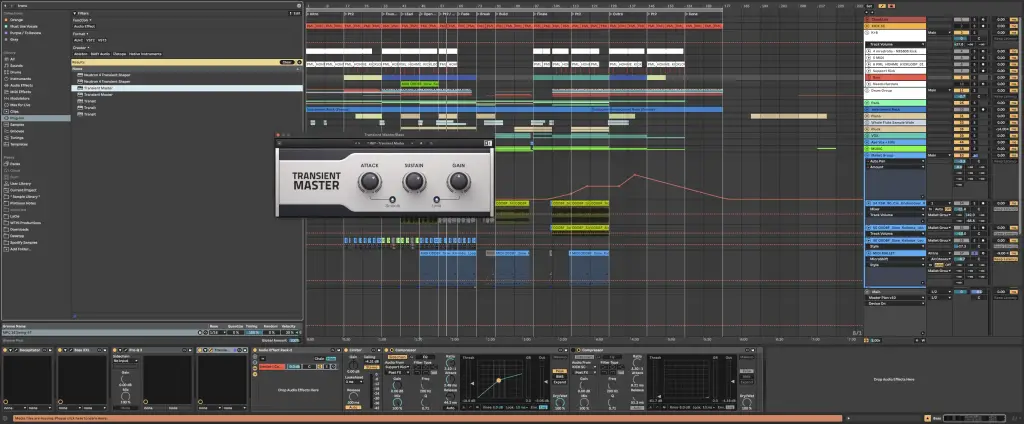
Transient Master

Transient Master is one of those low-profile plugins that might not catch your eye, especially with so many flashier alternatives out there—like multi-band transient processors and saturators with tons of features. But despite the more enticing options, Transit Master is still my go-to, particularly for bass lines. I don’t use many mid-range basses in my tracks anymore and instead focus on plucky, syncopated subs.
Transit Master lets me control the pluck and body of my subs, which is crucial for managing how the sub behaves over time. This control is essential for shaping the groove and ensuring the sub pushes the speakers effectively on larger systems.
Its simple interface allows me to adjust just one or two parameters using the controllers on my Push, often by ear. This helps me dial in exactly how the sub interacts with the groove, creating that vital push-and-pull movement in the speakers and the track.
This comes with Komplete, which I know a ton of producers have, so if you’re a fan of Kontakt and other NI bundles, this is likely in your account, and you just haven’t downloaded it yet.
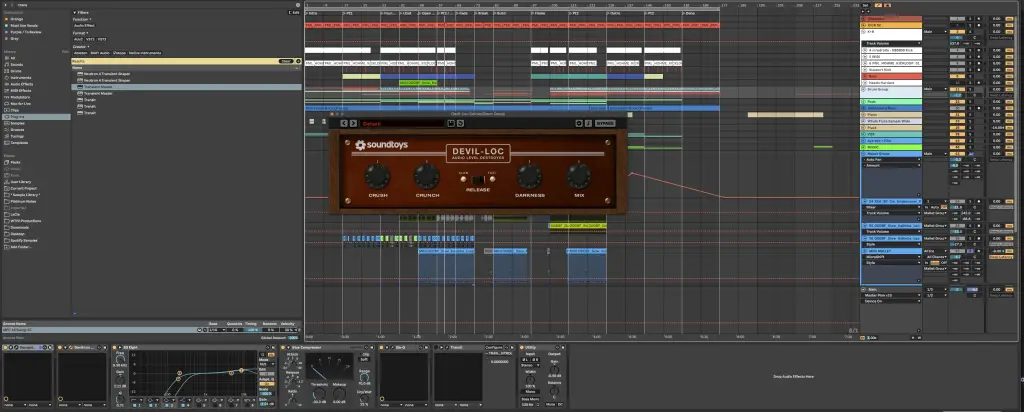
Devil-Loc Delux

Devil-Loc Delux, part of the Soundtoys bundle, is easily one of my desert island plugins. Honestly, around fifty percent of the plugins I use come from the Soundtoys bundle because it’s just that good. Devil-Loc Delux, in particular, stands out as one of the most powerful tools in my arsenal. It’s modeled after an old-school compressor that crushed, squashed, and colored the signal so heavily that it ended up with a unique, almost desirable sound. Soundtoys has faithfully emulated this with Devil-Loc Delux, capturing that chuggy, chunky, grizzled compression in plugin form.
I use it on every drum buss to glue the drums together, which is crucial since I pull samples from various sources—like jazz loops, organic house bongos, and dubstep hats. Devil-Loc Delux is my secret sauce for making these disparate elements sound cohesive, as if they’re coming from a single kit. It has only a handful of parameters, but it really helps the drums pop out of the speakers in a way that feels warm, analog, and lively.
Beyond drums, it works wonders on synths with reverb. The intense compression can make the synth and reverb interact in a way that feels almost like they’re dancing together, with the dry signal leading and the reverb following. It can make sounds feel larger than life, all through a single plugin, which is absolutely amazing.
A little bit goes a long way, too, as I usually only have it set on 5-10% max wet amounts, and any more than that, and you get some really intense crushing of the signal.
Ableton Stock Plugins

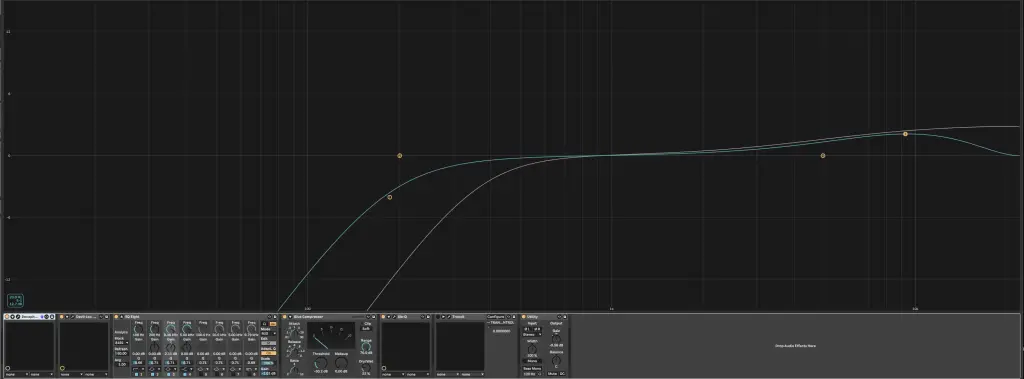
I review a lot of plugins at Magnetic Magazine, and while my plugin list is packed with new, flashy tools from cool upstart companies, I consistently return to Ableton stock plugins for most of my everyday tasks. They’re incredibly easy on the CPU, which means I can work on large projects without worrying about slowdown or bugs. Plus, the fact that they’re designed to integrate seamlessly with my Push allows me to do a lot of my mixing— even the more detailed, surgical work—without needing to look at my screen.
I can do it all through the LED screen on my Push 3, which lets me rely more on my ears than my eyes, enhancing the tactile experience.
Despite their simple interface compared to some premium plugins, Ableton’s stock tools are incredibly effective, intuitive, and versatile. The Echo plugin, for example, is hands down my favorite delay of all time. The EQ is outstanding, rivaled only by FabFilter’s Pro-Q3, and the Saturator is perfect for beefing up sounds. Ableton’s plugins truly reward you for investing the time to learn them inside and out.
After using Ableton for about nine years, I feel like I’ve really grasped what most of these plugins can do, and I continue to be impressed by their capabilities in the studio and in my mixes.
Tips For Making Melodic House Music
Tip #1 – Double your shaker loops and hard pan one to the left and the other to the right. Then, apply a groove template to one of them. The subtle differences in timing and velocity will add a lot of perceived width to your shakers and overall mix.
Tip #2 – Automate everything. Continuously shift elements to the front and back of the mix using filters, saturation, distortion, and other effects. Keep every layer moving and evolving to avoid the track feeling repetitive or static.
Tip #3 – Introduce subtle variations in your melodic fills or chord voicings to keep your core loop interesting as the song progresses. These small changes help prevent the track from feeling repetitive or stagnant, ensuring it stays engaging throughout.
Tip #4 – Use the whole stereo field when mixing your drums. When placed in the right pocket of the mix, they might not need to be as loud as you think, which helps save valuable headroom in the mix.
Tip #5 -It’s shocking to know how little space you actually have in a mix. Before adding something new, ask yourself, how can I make what I already have cooler and carry more weight?
The post How It Was Made: Will Vance & Tiago Dima – Air & Darkness (Magnetic Magazine Recordings) appeared first on Magnetic Magazine.