


Table of Contents
After a massive 2024 filled with sold-out shows and chart-topping releases, Vicetone kicks off the new year with Dive In, their first single of 2025, out now via Departed Records. Featuring vocals from Welt, the track blends their signature high-energy sound with smooth, melodic elements designed to hit just as hard on the dancefloor as they do in a personal listening session. Premiered in their 2024-year mix, Dive In quickly became one of the most requested IDs in their sets, and now it finally sees an official release.
The duo—Ruben den Boer and Victor Pool—has spent over a decade refining their production, and Dive In showcases that precision in full force. From the lush chord progressions to the layered leads, every sound was carefully crafted using a mix of their go-to synths and effects. In a breakdown of their workflow, they highlighted tools like Arturia Pigments for lead design, Soothe2 for surgical EQ moves, and SerumFX for adding rhythmic motion to the drop.
Their approach involved stripping back presets, layering synths for extra weight, and fine-tuning the mix using sidechain-based processing to ensure each element stood out without overcrowding the track and they were kind enough to come on and talk about how they did it all in the latest iteration of how it was made.
Pigments by Arturia
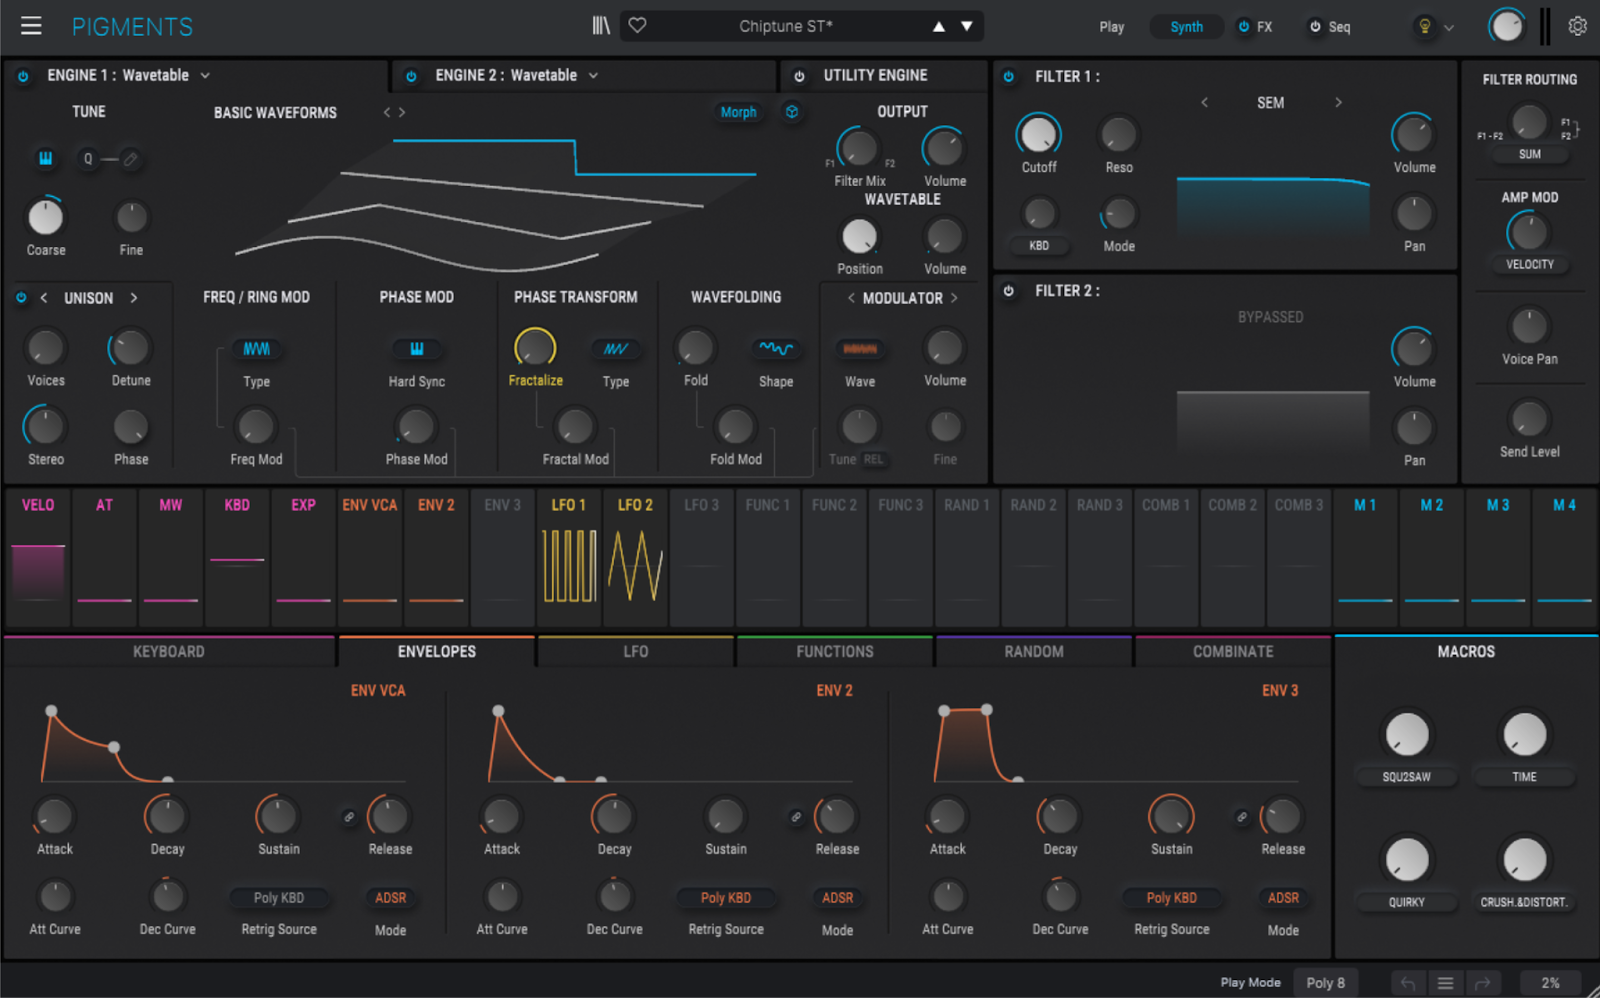
Pigments (Arturia) is a fantastic sounding synth that we’ve used a lot in Dive In. If you get comfortable with all the synthesizer engines, there are endless possibilities to come up with some really unique sounds. It also has a bunch of presets that we browse through a lot to find fresh sounding chords or lead sounds.
The most noticeable lead sound in Dive In comes from the preset ‘Tomorrow Never Comes’ in Pigments. The sound itself is quite soft with a lot of Reverb and FX on it. To add more presence and character, we took all the FX off and ran it through a range Guitar Rig 7 amps and fx. This gives the lead sound more grit and guitar like elements, which we love! But we made sure that the Pigments input signal into Guitar Rig is as clean as possible. Since adding amplifiers and saturation to a sound that already has a lot of reverb and delay on it will often cause unwanted distortion.
Although we liked this lead sound a lot for the song, it did not have enough character to really cut through the mix and be recognizable. So we combined the main lead with a bunch of other lead sounds from different synths to get a bigger and more unique final lead sound. One thing we learned is that having a more detuned lead in the background can make a big difference on how ‘big’ the sound is. Feel out what elements your current sound is missing and try to add it with other synths, instead of over EQ-ing or overprocessing one single synth.
Soothe2 by Oeksound
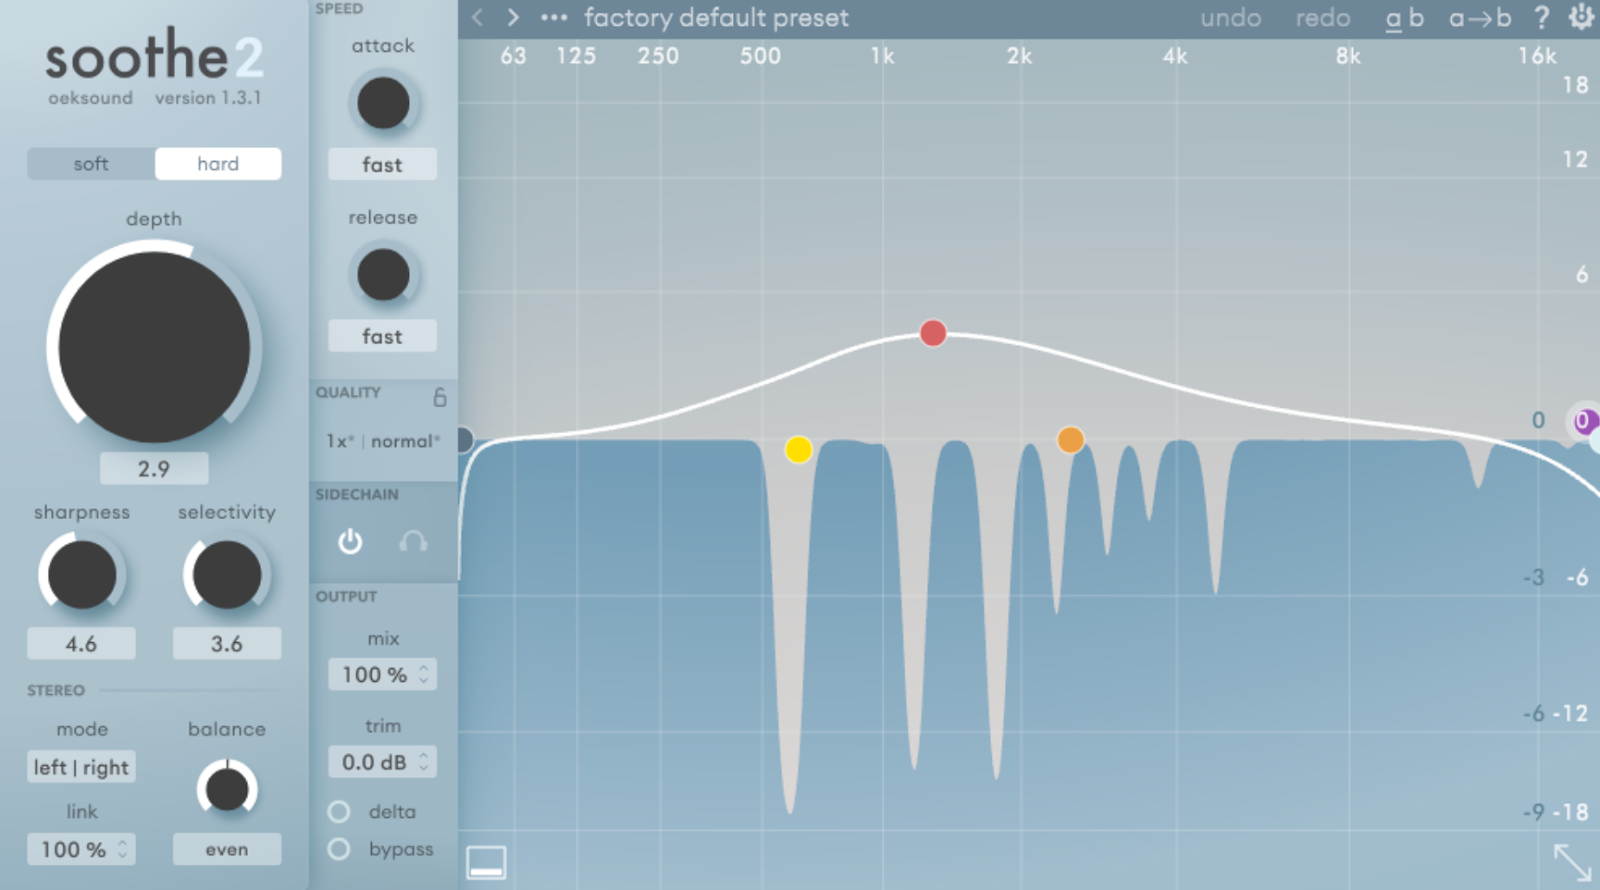
Soothe2 is an incredible plugin that can be used to lower harsh frequencies in certain sounds. Instead of continuously lowering certain frequencies like an EQ, it only takes away harsh frequencies whenever they come in. So we often use it to de-ess vocals, make cymbals sound less harsh in a drum loop or on a drum bus.
We like to use Soothe2 to help with de-essing vocals. But an often overlooked use case is the sidechain function. In Dive In we used this function on the piano and chord sounds in the drop. Soothe receives the input signal of the lead sound and makes sure these specific frequencies are lowered in the chord layers. This is a great way for us to get a cleaner mix, since instead of having to boost the volume of the lead sound, we can carve away overlapping frequencies of other sounds that are playing at the same time.
We recommend using this sidechain function when you really want to emphasize a certain sound or element in a song. So for example: if you feel a piano sounds too loud when a vocal comes in, but you don’t want to affect the piano volume in between sentences of the vocal, Soothe will help to only take away the piano frequencies when the vocal is playing.
Serum FX by Xfer
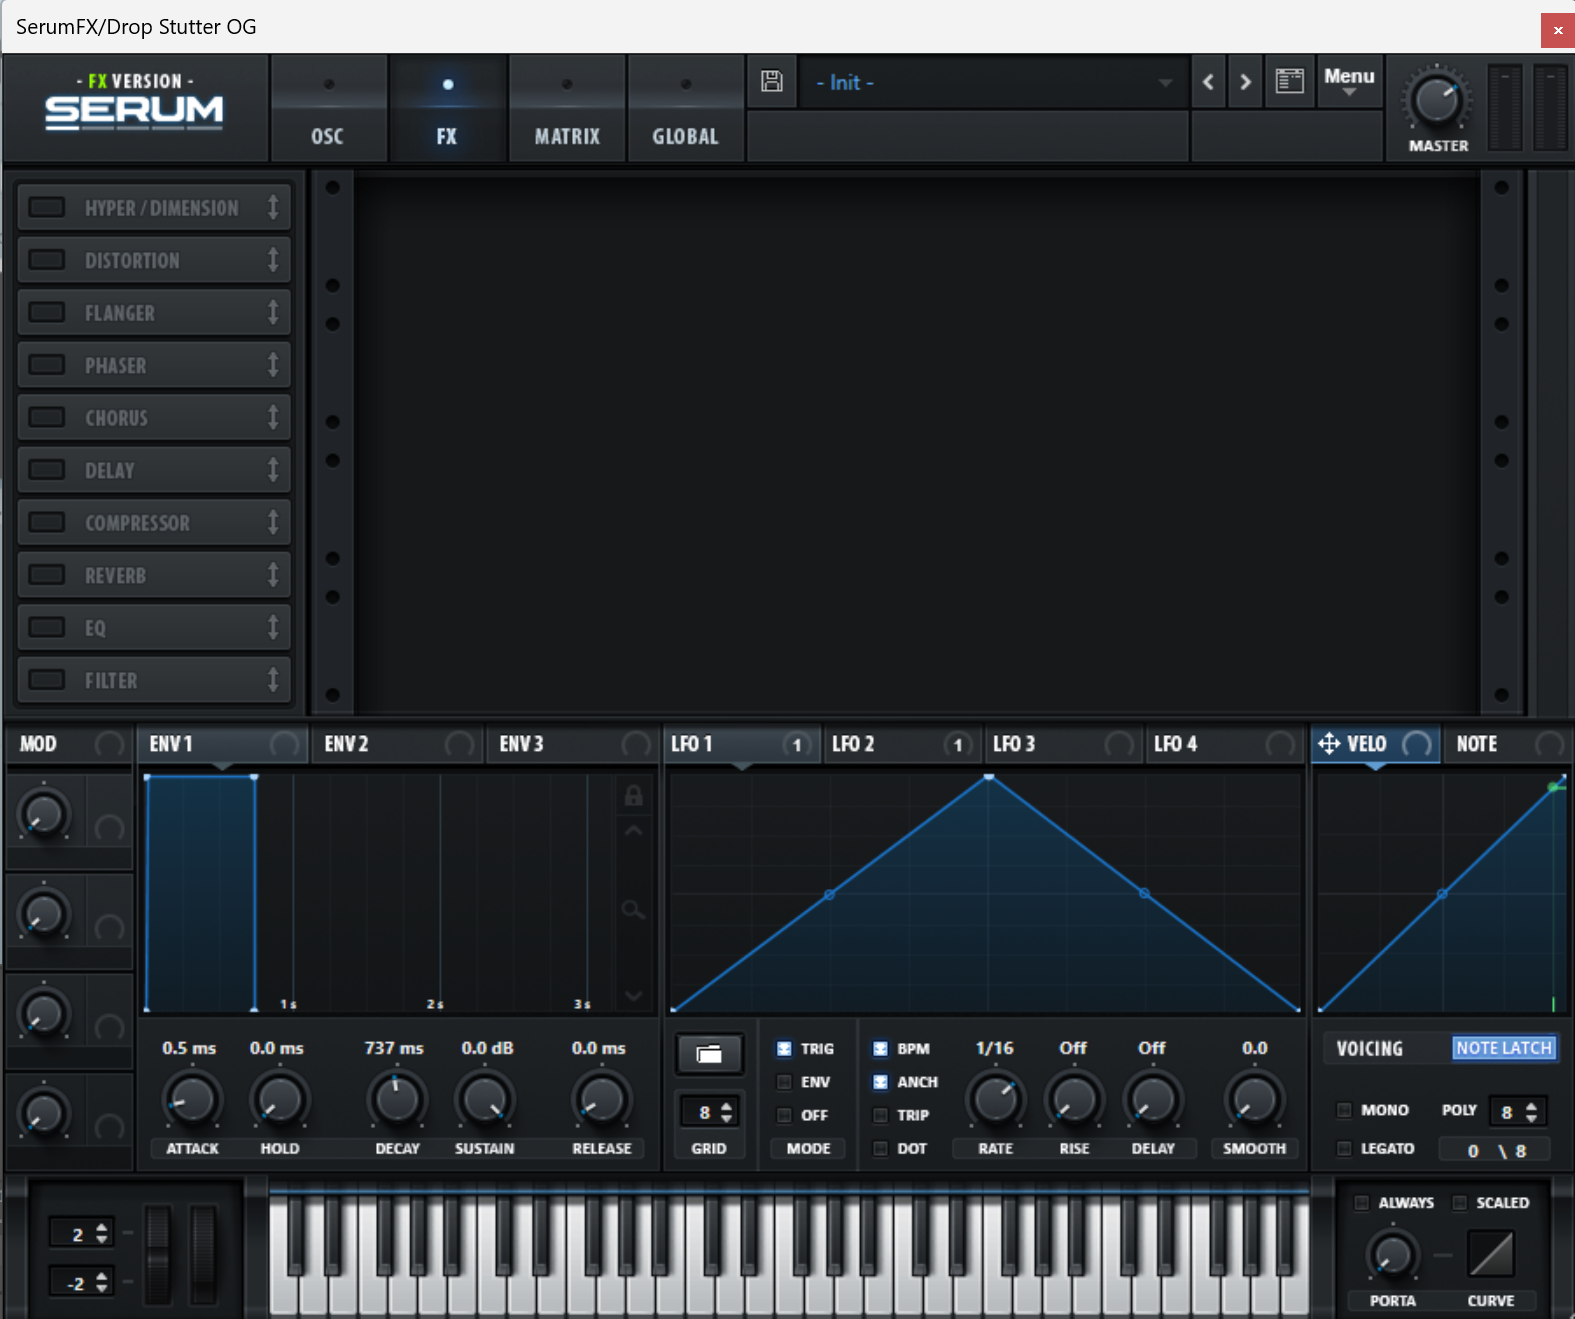
SerumFX is basically the FX section of the Serum Synth, removed from the actual synthesizer. This is a great tool to use if you’re really familiar with the FX elements of Serum and want to use it as a standalone plugin on whichever audio or midi sound you’d like. Let’s say you found a great FX chain on one of your Serum presets, you can now use it on multiple synths at the same time by putting it on your synth bus.
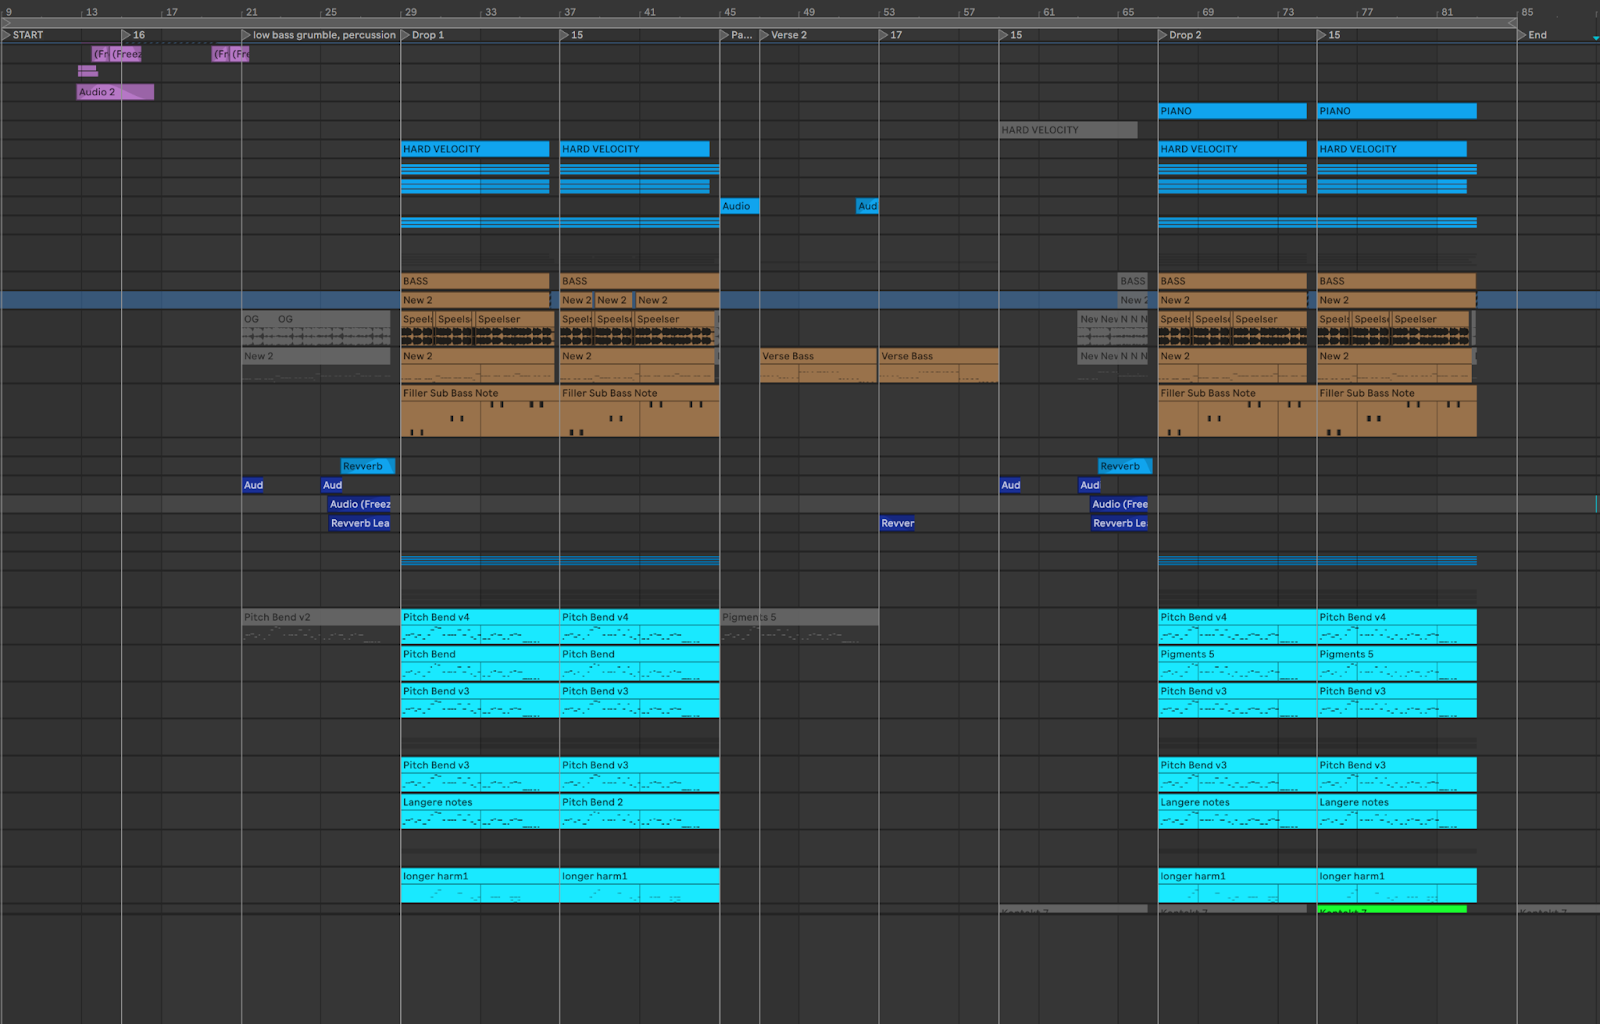
A crucial part of Dive In is the groove and rhythm of the drop. To change things up, we added a LFO using SerumFX on the chord/piano bus. So now, instead of just playing sustained chords, the LFO creates a rhythm that is a lot faster and more interesting. This adds pace and a unique flavor to the drops.
A lot of producers that make EDM are very familiar with Serum and have used the FX section a lot. Especially if you’re on the go and want to add your favorite reverb, distortion, delay etc. This can be a great way to quickly get the fx sounds you’re looking for, instead of having to use 4 or 5 different FX plugins and greatly increase the workload on your CPU.
Quick Fire Tips For Making Progressive House
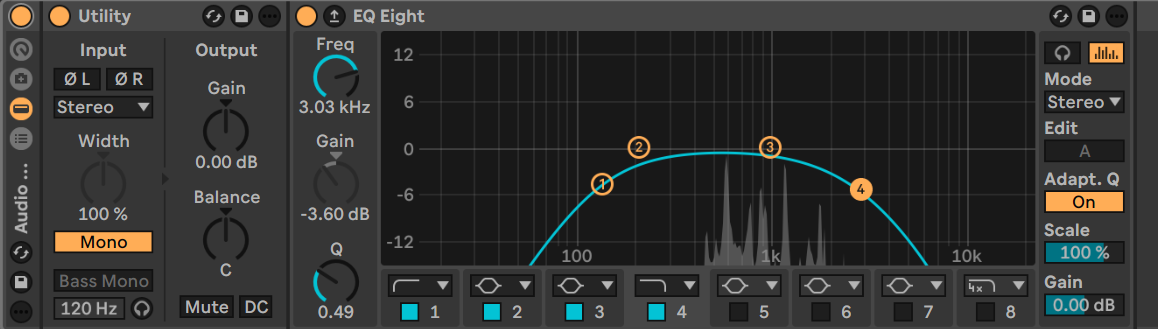
Tip #1: Listen to your mix in mono and through a bandpassed EQ regularly while working on the song. This is a solid way to make sure it will sound good on a wide array of sound systems. It can easily be done by putting a plugin group on the master bus that you can switch on and off whenever you feel like it. Example:
Tip #2: In melodic/emotional house songs like this, add atmospheric elements during the breakdown and verses. Omnisphere has great soundscapes that will give a track a lot more character. We used a combination of pad sounds playing the root note, water/wind and other ocean like elements to hone in the identity of Dive In.
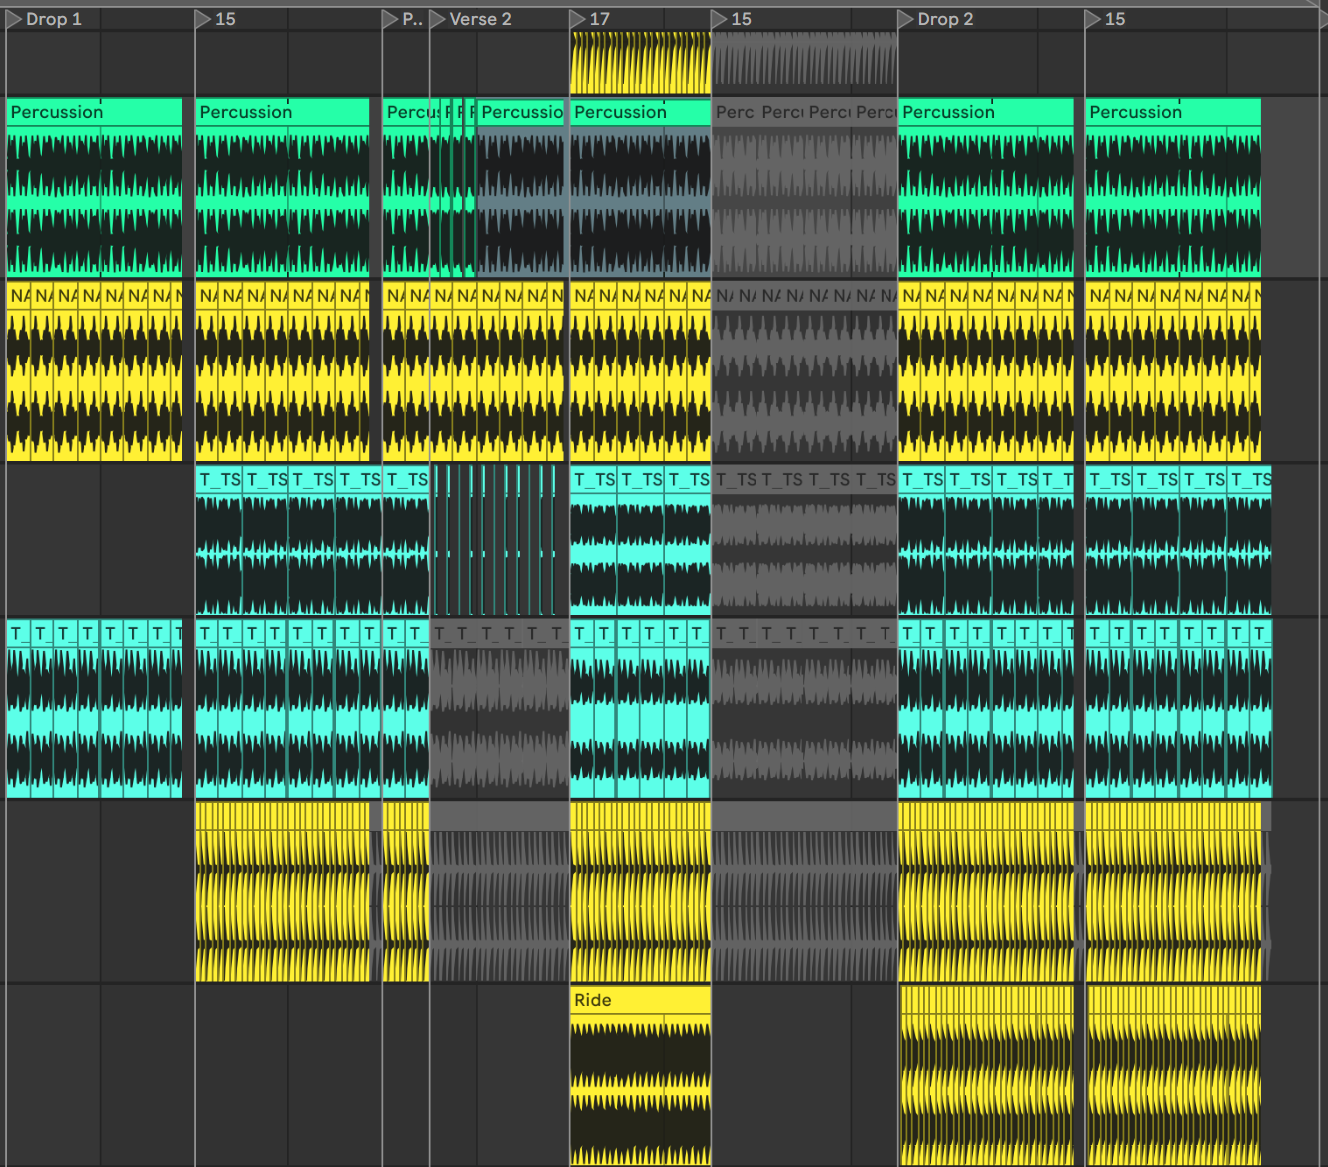
Tip #3: To make sure the drops in your track sound less repetitive, add new elements every time a section of a drop repeats. This can be a very noticeable element like adding a completely different lead sound or switching it up from a house beat to a drum & bass beat. But it can also be more subtle, by adding new percussion elements like more sustained rides or open hi hats towards the end of the song.
Example:
Tip #4: To get more impactful drop sections, don’t be afraid to put a filter plugin on the master bus and filter out the low end in the buildups towards the drops. The less low end the track has building up to the drop, the harder the drop will hit. Just make sure the plugin is only activated when it’s needed. We do this more and more often instead of filtering many channels or groups individually.
The post How It Was Made: Vicetone – Dive In (ft. Welt) – Departed Records appeared first on Magnetic Magazine.