Table of Contents
Philly-based producer OLAN has been on my radar for a couple of years, ever since she played at The Gorge a few years ago, and her consistency in quality in every single one of her releases has locked me in on everything she puts out.
And with the upcoming release of her sophomore album, “Floating Worlds,” which is slated for release in early August, I couldn’t be more excited about what she’s got cooking behind the scenes. While it can be exciting to fire up the rumor mill of predictions around what the album as a whole will sound like and what genres she’ll be pushing and breaking ground on when the full album drops, it can often be more effective to study the process behind the artist to get the best sneak peak of what is coming in their near futures.
So we decided to invite Olan on to share the sauce on some of the best plugins she’s using to make the second single from the album, “If You Need Me.” Stream the track below a few times so you can hear exactly what she’ll be talking about, and then let’s dive into the sauce on How It Was Made: OLAN – If You Need Me.
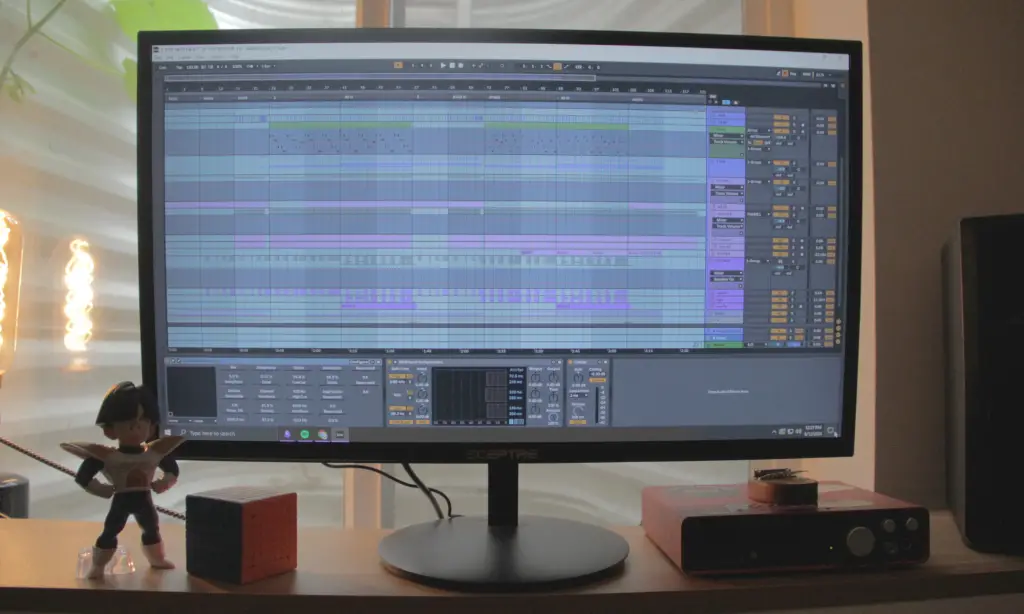
Ableton Wavetable Synth

Ableton’s stock Wavetable is easily the most commonly used instrument on my entire album. I used to use Serum a lot too, but Wavetable can be just as effective and uses a lot less CPU. It’s also great for visually learning the fundamentals of sound design, so I found myself returning to it for most of my writing process. I usually start with a saw or square wave, then start drawing in the shape I want the synth to be with the amp and envelope tabs that get mapped to a filter. Once I have the synth sort of “talking” the way I want, I’ll change the wave source since the synth comes with plenty to choose from.
For this track, I stuck almost entirely with square and sine waves, but it doesn’t hurt to try things and see what naturally fits. The synth also has a noise and unison feature that adds a lot of character to sounds and often gets used since you can control its intensity and send it through the synth’s filter.
I started the song with sine wave chords and some unison so things feel slightly detuned and wider in the mix. I hardly do anything else to the patch, so most of the automation is just EQ’ing to make space for other instruments and smooth out transitions. The bass and plucks are nearly the same, just octave shifts from each other. Both are square waves and have their character drawn in using the amp and an envelope that controls the filter to give it the plucky sound. I heavily saturate most of my sounds, so that plays a huge part in tone as well.
Like I mentioned before, Wavetable is an incredible synth to learn with. It has everything you could need to start shaping your sounds with envelopes and filters, do some FM tricks, and add noise to give things character. It’s very good for visualizing your actions so you aren’t just relying on your ears. Its simplicity is what makes it great for making a house track so you can focus on strong chords and melodic structure quickly.
RIFT
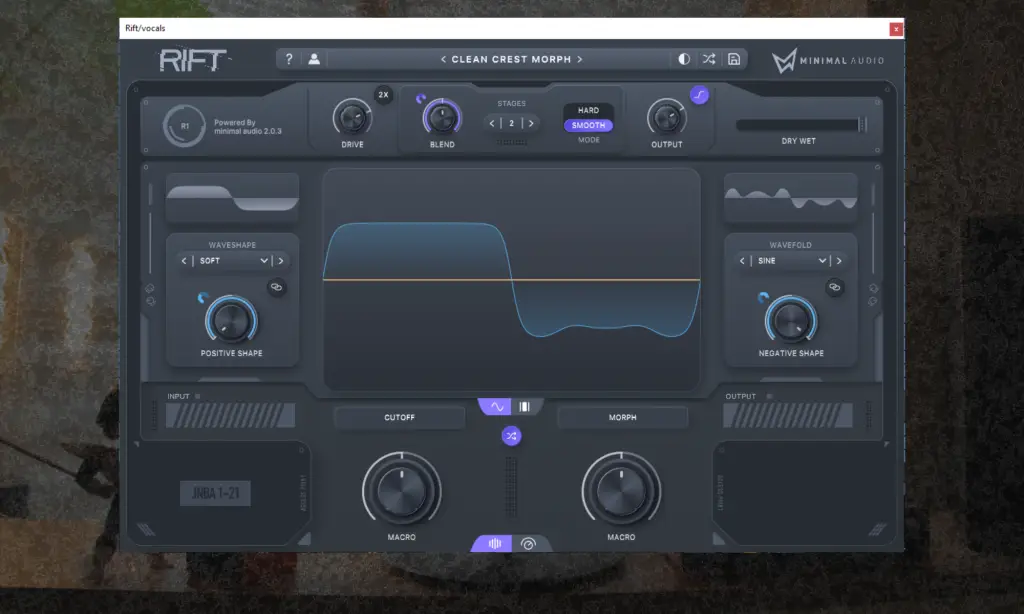
Aside from Ableton’s stock saturator, rift is hands down the most used and abused plugin on the entire album. To be honest I have no idea how it works, but my best description is that it’s a mangling plugin. It’s great for adding distortion, chops, and filter-y delay effects to any sound you want. I often throw it onto sounds to help drive ideas and give my sounds a unique flavor since my sound design is minimal. I re-recorded it into a new track and resampled it all the time, too. If you’re stuck it’s just a fun plugin to crack open and flip around till you find something you like.
On ‘If You Need Me’ I used Rift on my vocals to give it the crunch it has alongside a Melda Autotune that’s formant shifting my voice with an LFO. A repeated theme on this record is treating my voice more like a synth than straightforward singing, and using Rift’s distortion helped me achieve that. I also used it to create that really aggressive lead “synth” at the last chorus. It’s just my voice distorted to hell and side-chained to the lead vocal.
Rift and mangling plugins in general are a great way to keep you inspired when you feel stuck. I’m not a particularly strong sound designer, so it’s useful to have something that can feel random and unique to re-record and re-sample any way you like. Inspiration isn’t always enough to help you finish a song, so I liked using Rift to keep the flow going.
Learn More About This Plugin Here
Melda AutoPitch
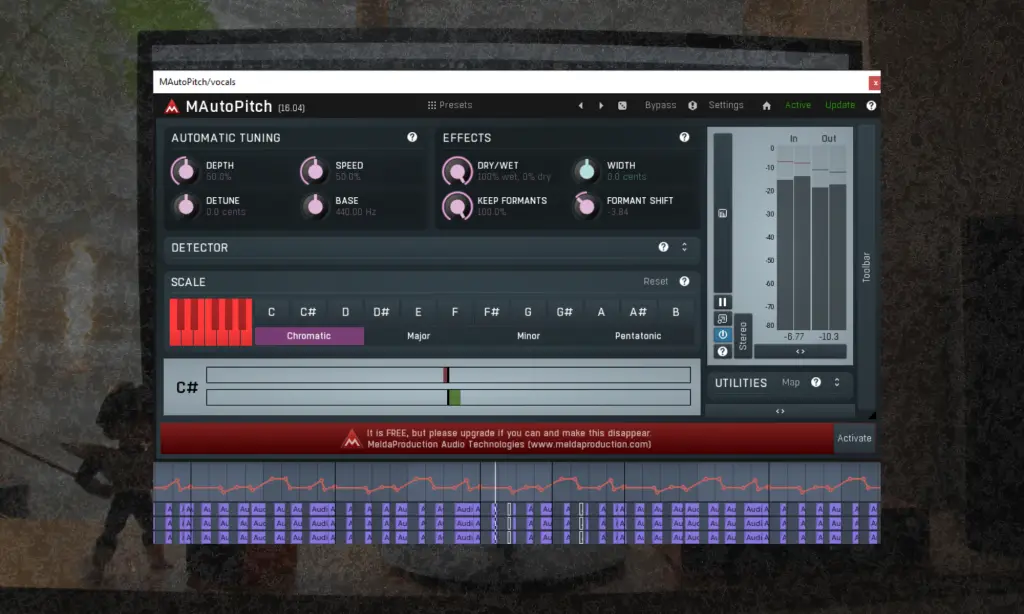
Melda makes a TON of free plugins that are incredibly useful and save CPU, but one of my favorites is easily their autotune. I don’t normally use a lot on my voice, but when I do it’s more for tone shaping than actual pitch correction. The formant shifter knob is useful for that reason, and I like to either automate it or just map it to be more randomized with a stock LFO in Ableton.
For this song, I did draw in automation on the Formant Shifter knob because I wanted more control on how low it would go. Sometimes you have to play around with what actually works for the track, and even though the point was to destroy the original recording, I wanted to make sure you could still understand what I was saying. The depth and speed knobs help you control how natural the pitch correction sounds, and in this case, I ran it up pretty hard. Again the goal was to give the impression of a synth rather than how I would treat my vocals on a ballad.
This plugin can work for any genre; you don’t always need to use it for vocals. Sometimes, I use it on guitar recordings just to bend things in a weird way. It’s free, making tuning vocals much more accessible without putting too much strain on your computer. I also think it’s great to think of it as a way to add character to a sound outside of just tuning it. The formant shifter and depth knobs are your friends and give you more control over what this plugin can do!
Ableton Saturator
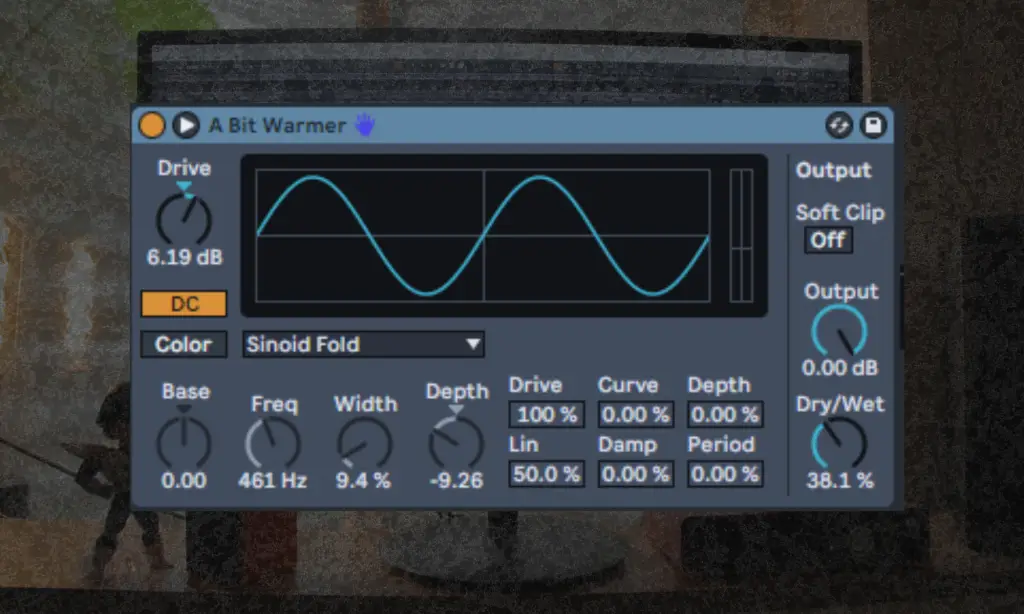
I’m such a huge advocate for using Ableton’s stock plugins. Their team puts a lot of work into giving you many different tools to flip your sounds into anything you want, but the simplicity always stands out to me. Their saturation, and specifically the ‘A Bit Warmer’ preset, gets put on EVERY SINGLE TRACK in my songs after an EQ and compressor.
This is the only plugin that’s included in my workflow that hardly gets touched once it’s on. I mainly just use the dry/wet knob to make sure the sound I’m working with isn’t too loud, but the saturation is there to give a sound more body and presence so I don’t ruin my recording with something like EQ or a distortion/fuzz pedal to get what I think would be a similar effect. There’s not much more to it than that!
I think saturation is an incredibly useful tool no matter what style you’re making. Sometimes you don’t just want a sound to seem louder. You want some character and warmth to it. Saturation is an incredibly simple way to do that in a way Overdrive, distortion, or fuzz can overshoot. Alternating between saturation and compression on your chain can help make sure your sounds are sitting nicely in the mix while still maintaining their tone. Once you have a recording you like, you don’t always have to process things heavily to make it sound good. Saturation can go a long way.
The post How It Was Made: OLAN – If You Need Me (.WAVCAVE) appeared first on Magnetic Magazine.
