


Jack Willard is a guitarist, music producer, and multi-instrumentalist hailing from the United States and who has been supported by some of the biggest names in the melodic game such as Above & Beyond on their Group Therapy, as well as on Sirius XM Chill and BBC Radio One. His latest track, just released on Colorized, highlights his skills not only in the studio but also as a songwriter and as someone who can convey emotions through music.
His latest EP, featuring two tracks, is absolutely rich with emotion, texture, and soul. We wanted to take this opportunity to dive into the tools he’s using and explore the more technical aspects of the music production process that went into this song. So, as always, listen to the track below to get a feel for the vibe he’s creating before diving into the latest edition of “How It Was Made: Jack Willard – Scattered Skies,” which is out now on Colorized.
Felt Piano
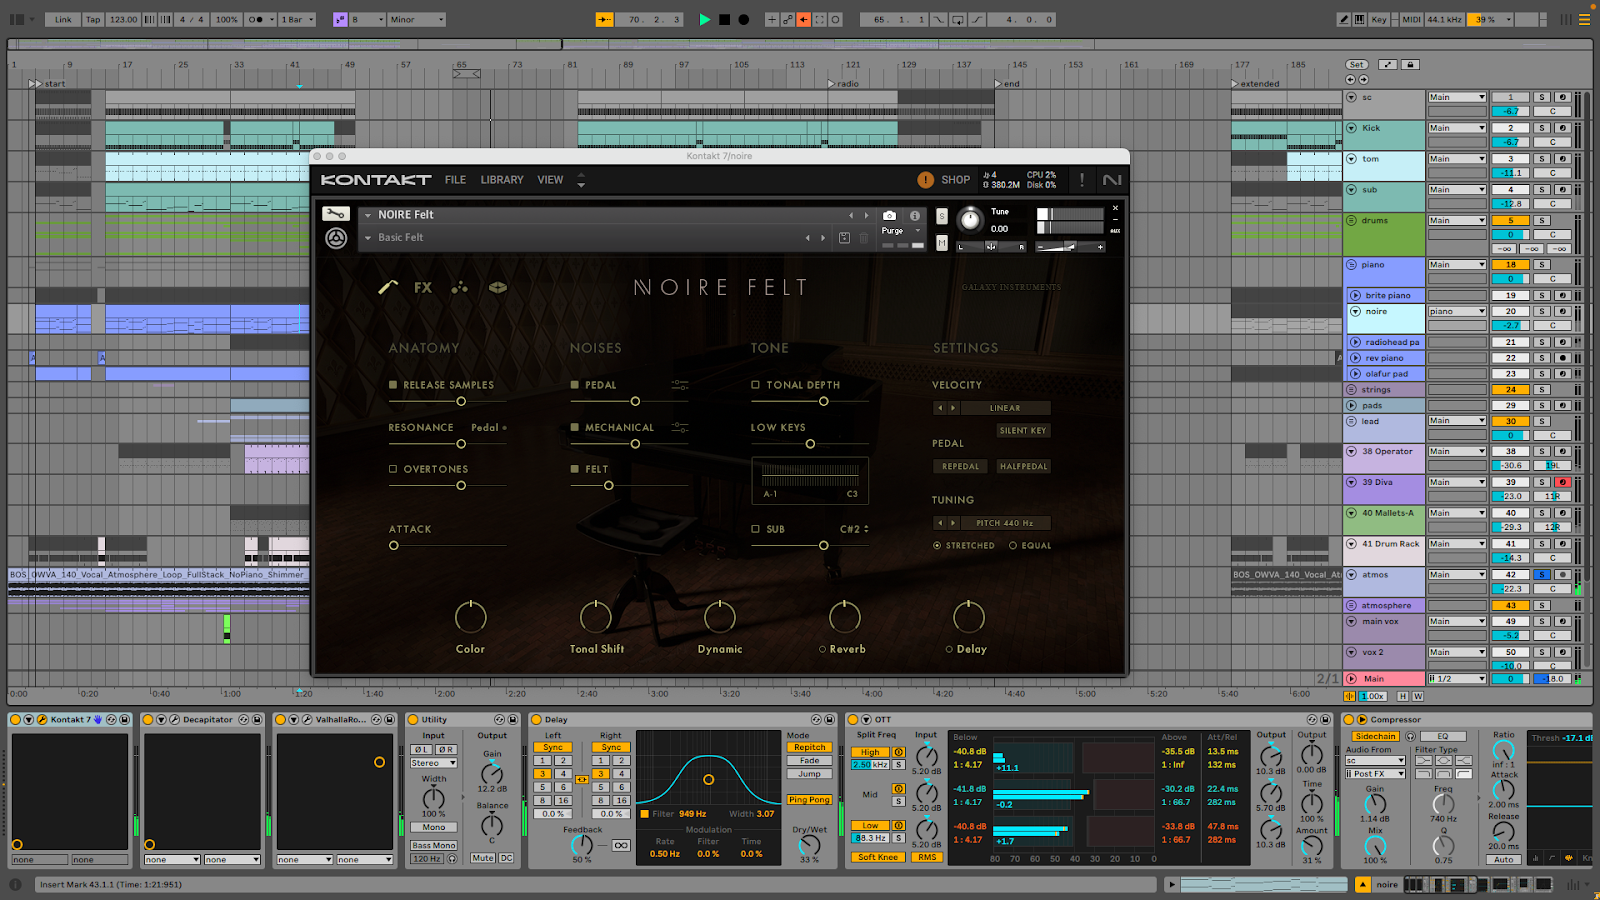
Both of the tracks on this EP, ‘Vista’ and ‘Scattered Skies’, began with piano. My favorite piano and songwriting staple at the moment is Native Instrument’s Noire Felt. One thing I like about Noire is it has pedal, mechanical, and felt noise from the source piano. This creates a more organic and “live” sound.
For a chill track like ‘Scattered Skies, I prefer the sound of piano played “softly” at low velocities. It’s very quiet at this level so I use Ableton’s Utility to compensate for this. I would caution that if you’re using gain compensation on a softly played piano, you can use Ableton’s Velocity plugin to restrict the velocity to a certain range, to protect your ears from accidental spikes in velocity and volume.
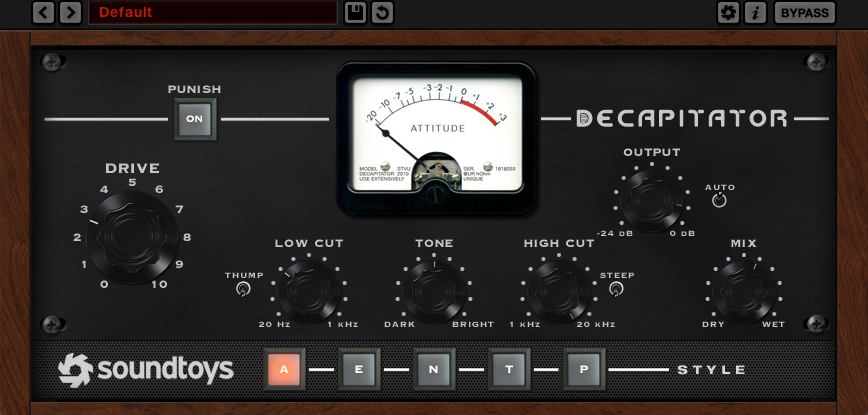
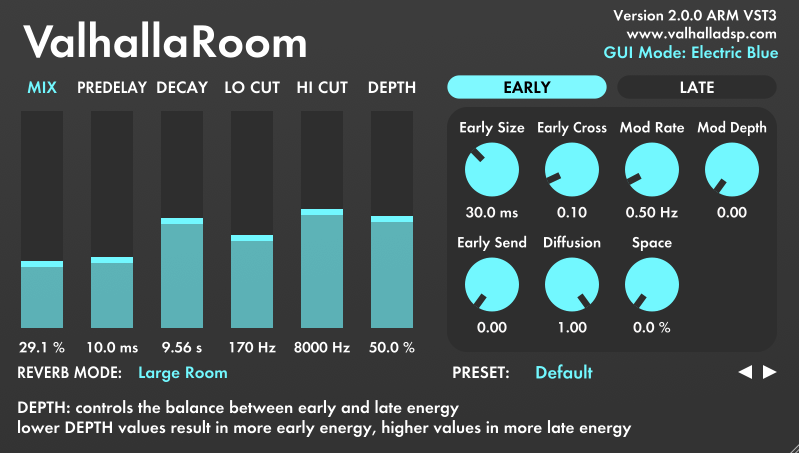
Here’s the processing chain I used for the Piano.
- Soundtoys Decapitator, to add some parallel saturation grit.
- Valhalla Room, to put the piano in a space.
- Ableton Utility, to bring up the volume and compensate for the low velocity on the midi notes.
- Ableton Delay, to add some additional stereo to the sound.
- Ableton OTT – to brighten the piano slightly and give it more presence. I typically use this very sparingly in this case I used it in parallel at 30%.
- Ableton Compressor – to sidechain the piano to the kick.
- EQ 8 – to remove sub frequencies from the piano.

For the piano progression itself, I spent more time on this than any other part of the track. It was a lot of trial and error. I was tinkering around trying to make a progression that was familiar yet unpredictable. The result was a progression that is 18 bars, rather than the typical 4, 8, or 16. I also like to use dyads, or two note chords, with wide voicings. This leaves more space in the record for other elements.
Atmosphere
Creating an atmosphere is one of my favorite parts of producing a track. You’re creating a world for the song to live in. In my productions, atmospheric sounds are typically very quiet, – 20 db or lower in the mix. Sometimes I’ll use an iPhone recording from my backyard. Sometimes I’ll use a sample. Other times I will resample a synth or guitar with a lot of delay and reverb.
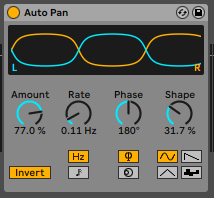
With Atmospheres, I like to use several layers and add some movement to them with filters and panning. One trick I learned from Enamour years ago was to use the “Phase” function on “Ableton’s Autofilter. This moves the sound around the stereo field in addition to moving the filter when the LFO is engaged.

Another trick I learned from Corren Cavini was to use the “Shape” function on the Ableton Auto Pan. With this parameter at maximum, the sound will never touch the center of the mix. In this case, I used the Amount at 70% and the Shape at 30%, and the Rate at .11 HZ. I prefer a slower rate LFO when panning atmospheres, so they move in a gradual and less distracting way. I also alternate using the “Invert” function if I’m using a few of these on different elements, so that the panning is moving in different directions.
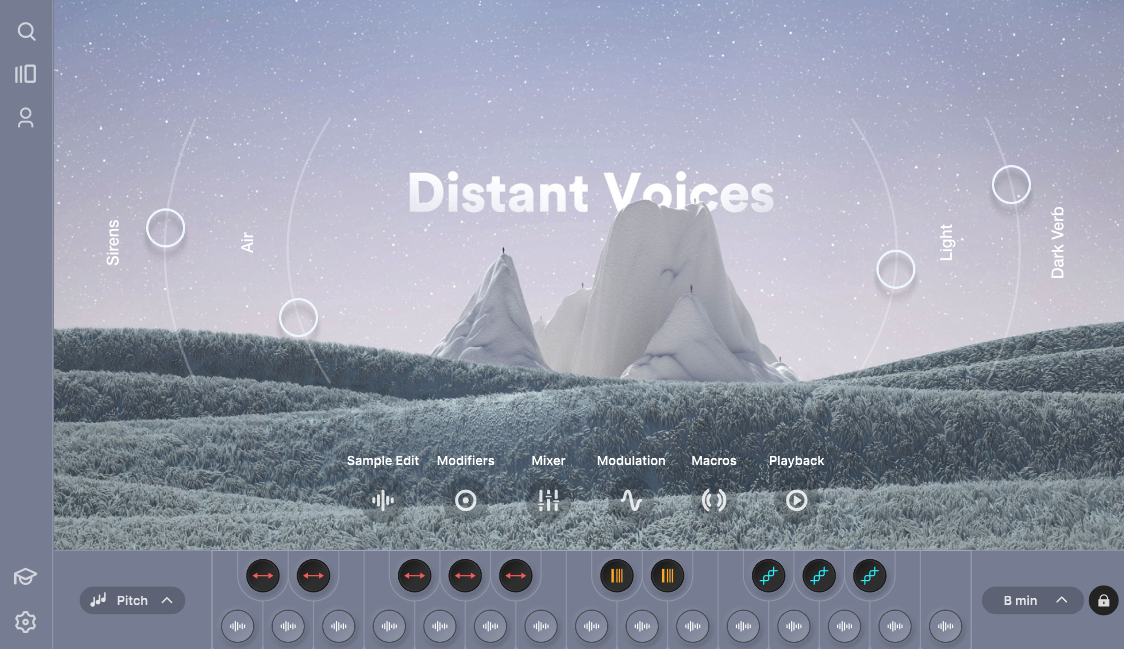
Vocals drenched in reverb is another go-to for atmosphere. I will sometimes make these from scratch by picking any old vocal sample and putting it through a huge reverb. For ‘Scattered Skies’, I used an Output Arcade library called Distant Voices. It’s super easy to use because you can set it to the key of your project and flip through it to find something that suits your project. Fair warning, this library has been used a lot in the melodic house scene. However, Output does trickle in new sounds periodically, and you process them in interesting ways to come up with something less cookie cutter.
Melody Writing
Simple melodies are memorable. I think the best example of this in my catalog to date is my previous Colorize release ‘‘Big Sky’. It’s a very simple call and response, with subtle variations through the record that keeps it interesting. ‘Scattered Skies’ like my previous records Celsius and Paragon, has a slightly busier and more “trancy” melody. Even still, it’s only 3 notes, with a couple flavor notes sprinkled in occasionally.
My process for writing melodies is a combination of improvisation and refinement. I will use a midi keyboard, guitar, or even just the piano roll to jam along to some chords until I find a riff that sticks.
One trick I learned is to use the “Fold” feature on Ableton’s Piano Roll to experiment with melodies. With Fold, I can focus on the handful of notes I’m working with for the melody. This allows me to quickly play around with the timing and sequence of notes after the fact. Muting notes and clips (rather than deleting them) has also helped my workflow. I like to quickly A/B whether or not a note or entire clip is serving the production.
Sound Design
Layering
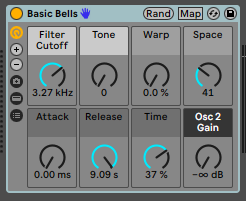
It’s such a simple track, but in hindsight there is a lot of subtle layering in ‘Scattered Skies’. For example, the lead patch, which is a simple pluck from Serum, is layered with various “bell” sounds towards the climax. For layering, I like to contrast synth sounds with more natural or orchestral sounds. I use panning on layers to add width and also not clutter up the mix. In this case, I found a few different Bell sounds and panned some of these left and some right.
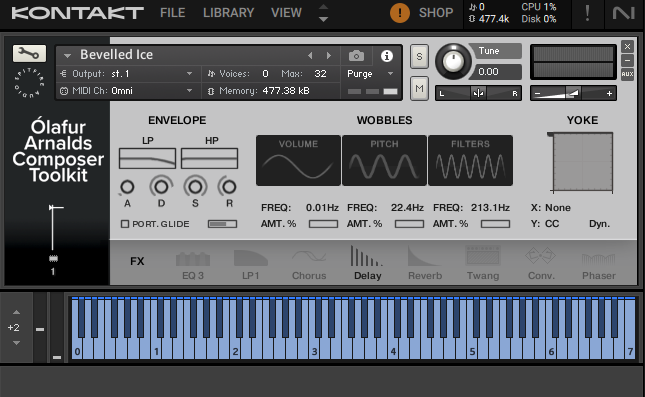
For the piano, I layered in some different pad sounds to sit underneath the piano. One pad that plays throughout the record is from Olafur Arnolds’ Composer Toolkit. It’s an amazing sound.
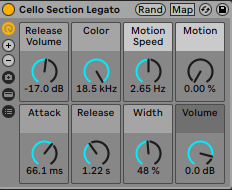
Another essential layer is the strings that are introduced in the breakdown and reprise at the finale of the track. There is a cinematic and emotional quality to strings that is hard to go wrong with. I like to use legato strings to add tension during the breakdown, and I also like to use strings for counter melodies. You can hear a prominent counter melody in the breakdown section of “Scattered Skies”.

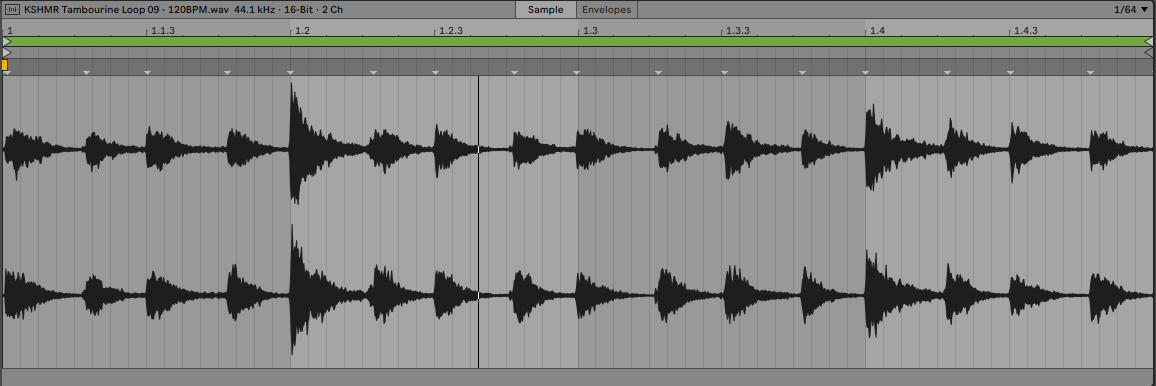
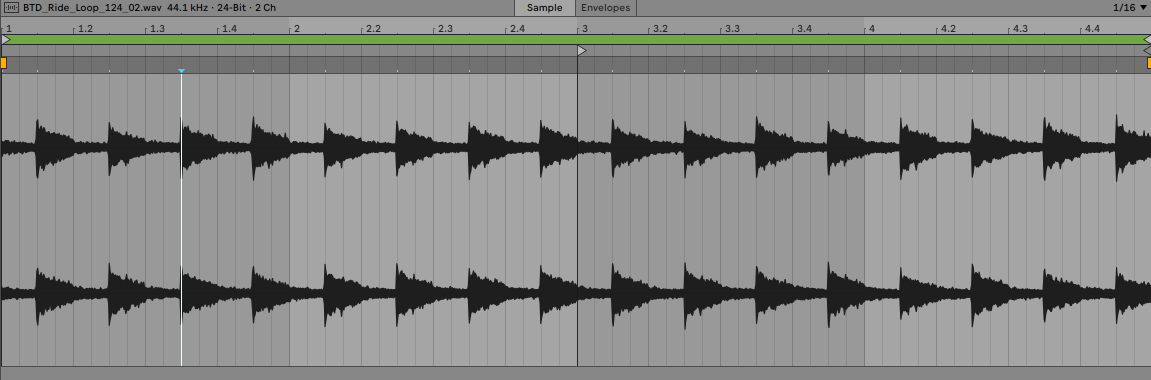
For drum layering, I try to keep building up the drums every section, and always save certain elements for the finale of the track. Two staples for adding energy to the final section are tambourines and ride cymbals. I typically remove all the low end information from these elements, because there is already so much going on at the peak of the track, and the high end information contains all of the energy for these cymbals.
The post How It Was Made: Jack Willard – Scattered Skies (Colorize) appeared first on Magnetic Magazine.