After the smashing success of Atrym’s debut on Magnetic Magazine Recordings a few weeks ago, we had to figure out how he works his magic in the studio.
The song features a fantastic progression that focuses on having a club-friendly track while leaning into songwriting, with natural progression in the melodies, harmonies, and overall song. We wanted to invite Atrym to figure out the plugins he uses, take a look inside his DAW, and everything else that goes into the latest iteration of how it was made.
Atrym’s song, “Enemy,” is out now on Magnetic Magazine Recordings, and as always with this series, listen to the song a few times below to acclimate your ears and eyes to the sauce he’s about to share. Then we’ll dive into everything he says about how he uses some of the best plugins to make some of the best music in the game right now in the latest edition of How It Was Made: Atrym – Enemy.

Serum

I used Serum as the source of my lead sound. It’s a soft wavetable synth that is very useful for creating great-sounding leads and crisp bass tones. Many producers use this now, and I think Deadmau5 was one of the first to blow it up. It can pretty much do anything you need it to and has good filters.
The lead tone that I used in the track was a preset that I found from The Producer School. It’s primarily a saw wave that has some modulation with a comb-style wavetable applied to it. I adjusted the distortion and automated the filter to give it a more pluck-like sound. For other effects, I added additional EQ to take out some of the low-end, compressor, some OTT, FabFilter Saturn for distortion, and finally added some reverb with Valhalla VintageVerb.
Something I think works well is that a trick I learned from Robby East is adding your decay and sustain to the filter knob so you can add more crescendos in certain parts of the track, for example a build up.
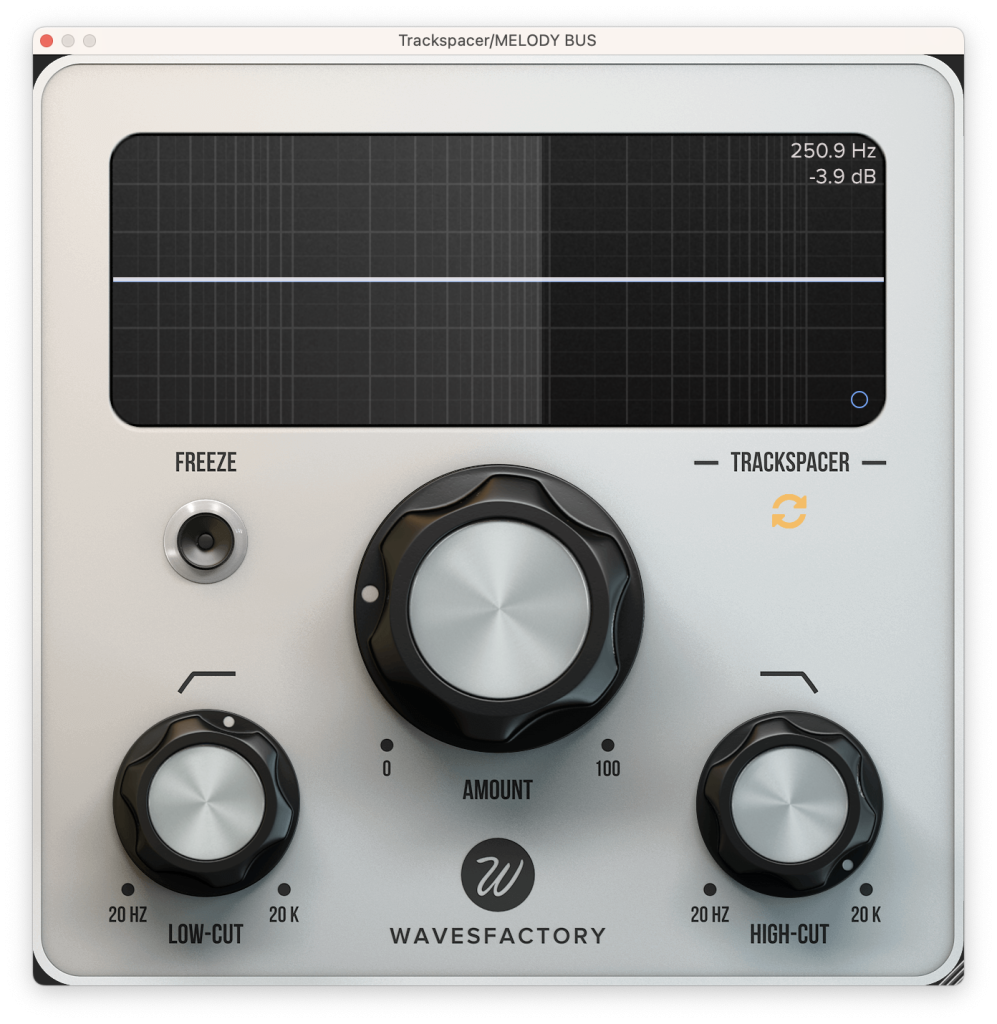
Trackspacer

When I produce, I like to separate my tracks into bus groups that I can add processing to. It makes for a cleaner mix overall since you can add EQ to the entire group, etc. For tracks with a consistent vocal like ‘Enemy’, one of my favorite plugins and tricks to use is Trackspacer which allows you to sidechain your melody to the vocal, giving the vocal more space and room in the mix. The nice thing is that you can do a low, high pass, or band pass depending on your preference.
Another way to use a plugin like this is to apply it to a Pad or something that takes up a lot of the stereo field. This allows something like a lead sound to break through and give it room to shine. Can be also effective for drums, etc. I typically experiment with it when I can’t quite seat a specific sound in the mix good enough.
Learn More About This Plugin Here
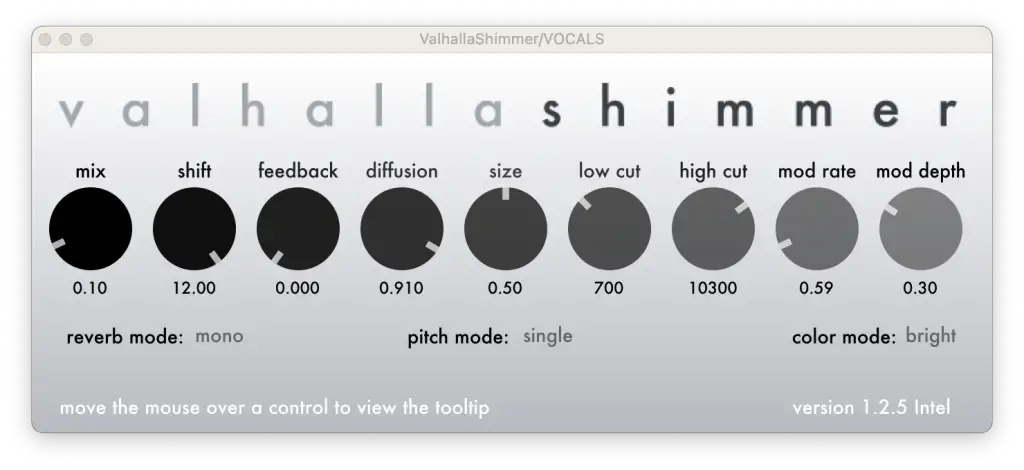
Valhalla Shimmer

Out of all of the Valhalla plugins, this is one of my favorites for vocals and sounds that need more shininess in the highs or mid highs. It adds resonances to the top end of a sound, resulting in a unique reverb that highlights tones you probably wouldn’t normally hear, but creates a really distinct sound.
This is one of the best algorithmic reverb plugins you can find. It adds a smooth decay to anything you add it to, without adding more color or distortion. I especially like the versatility you have built into cutting lows and highs so you can really get creative with what sound you want to bring out.
Quick Tips For Making Progressive House
Tip #1: Start with the hook
Tip #2: If you aren’t grooving, neither is your track
Tip #3: Melodies are the key to any progressive track
Tip #4: Don’t be afraid to automate
Tip #5: Reference tracks can be your best friend
The post How It Was Made: Atrym – Enemy (Magnetic Magazine) appeared first on Magnetic Magazine.


