


There is no denying that Christophe Salin is a master producer.
Ever since his introduction to house music in the 1990s, Salin has been obsessed with it. A massive fan of using hardware in his productions, he is known for his crystal-clear mixing and upbeat, fun style, as well as being the head of his own record label, Salin Records.
His latest EP, Melodies & Harmonies, is a great introduction to the producer. These three impossibly-clean house tracks combine bouncy & deep drumbeats, analog synthesis, and light ambiances to create a phenomenally cohesive package. It is perhaps the mixing on the tracks that is the most impressive; these could be some of the best mixed house tracks I’ve heard in 2025, with each aspect of each track holding just enough space for it to breathe, and zero cluttering whatsoever in any frequency range. What is even more impressive is that this impeccable mixing applies to the rest of his musical output, not just this EP.
So, it seems like Salin is the best possible candidate to provide some tips on how to get your mixdowns sounding better. Luckily, we had the chance to sit down with him so he could do just that. Throw on “Melodies & Harmonies” and read on for some invaluable mixing tips from a true master of his craft.
Take it away, Christophe!
Thank you for inviting me to participate in this series! I’m happy to share with you some of my working methods, tips, and tricks from my studio sessions.
When producing, mixing and mastering, I aim to create a sound that invites you to immerse yourself. I want the listener to want to turn up the volume and get lost in the sound. To achieve this, the basis, the first instance, the basic sound is the most important thing.
I have learned a few working methods and tricks that give me a certain confidence in creating a good basis for a mixdown. I’m happy to share them with you!

#1: The Basic Rule
Use as little processing as possible but as much as necessary. The less the signal is processed in the mixdown, the better the result sounds (I’m not talking about sound design here, of course).
If something doesn’t sound right, the first thing I try is to change the volume or panning of the signal. In both cases, the signal is not processed. Before I bend the signal too much with EQs, I prefer to build a new basic signal that fits better, if possible (e.g. a new kick drum).
#2: Use Bus / Master Processing Instead of Processing Individual Tracks
I have found that it often gives much better results to create busses/groups and process them together (compressors, EQs, etc.) instead of doing it in each individual channel. Everything fits together better, and you save CPU resources.
There must be a very good reason for compressing a single signal, as we are talking exclusively about electronic music, i.e. we are mostly using samples or synths that have already been processed or deliberately created for a specific purpose.
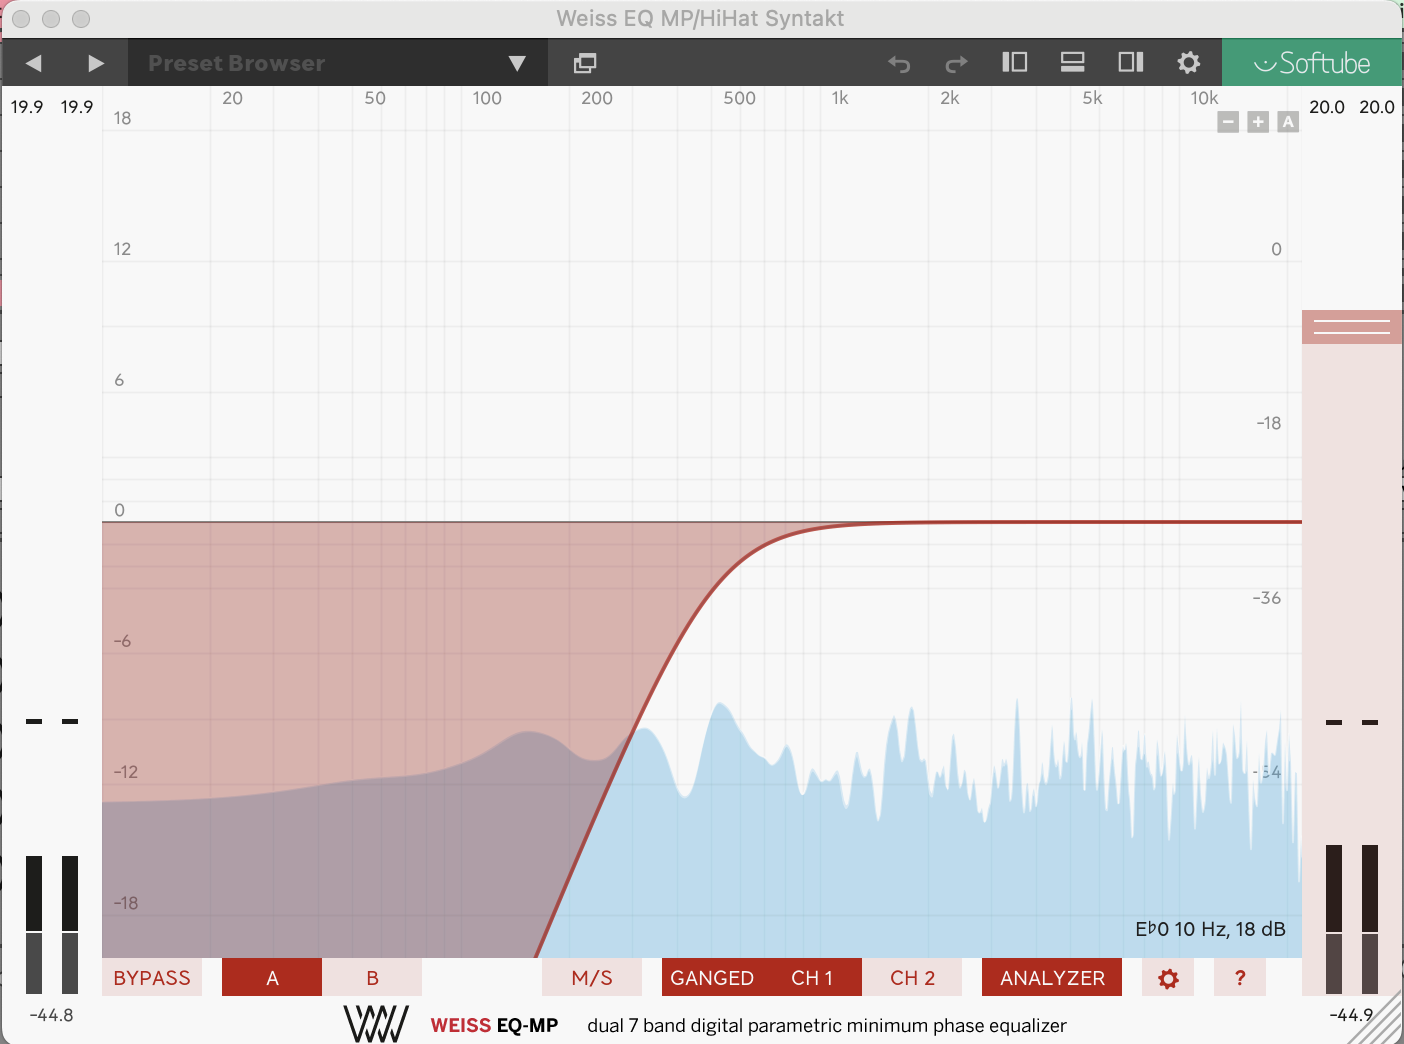
#3: Be Careful With High Pass & Low Pass Filters
I use a lot of high-pass and low-pass filters to assign signals more clearly to their frequency window and to avoid too much energy in the bass range or to clean up the bass range. However, I never use filters with a steepness of more than 12dB.
Filters destroy the phase of the signal, and the steeper the filter, the greater the destruction. My favourite EQ (for me, it simply sounds the best – or doesn’t sound at all – and is great to use) is the Weiss EQ MP from Softube. But again, if you don’t need it, don’t use it.
#4: Use Send FX Instead of Inserts for Time-Based Effects
A mix with too many delays and reverbs will quickly sound undefined and muddy. The groove will never work. That’s why I use send FX for all time-based effects like reverb and delay instead of inserts.
I usually have 2 or 3 reverbs (room, plate, washed-out FX reverb) and 2 or 3 delays in a session that I use on all tracks I want a delay or reverb on. If a sound seems too far away, it helps to extend the pre-delay of a reverb. I often work with times between 15 and 45 ms.
#5: Gain Staging and Leveling is Fundamental
This doesn’t sound very exciting at first. But, gain staging is the basis of a good mix. In what way? It helps me work cleanly and make good decisions.
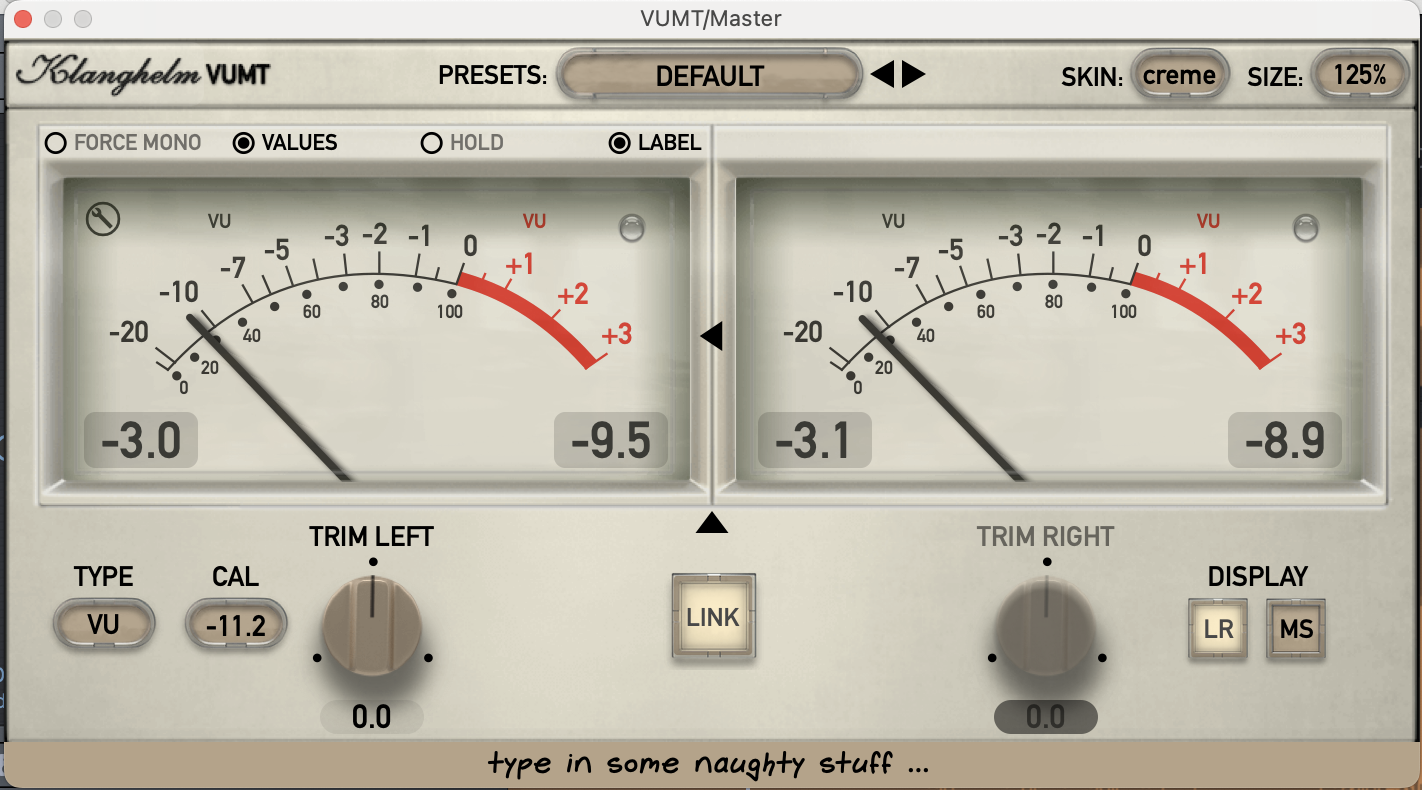
My starting point is to level the kick drum to -8 dBFS (peak meter in Ableton Live, for example). I may adjust it a little later, but that’s my starting point. I leave the kick drum channel fader at 0 dB and adjust the volume in the instrument. Next, I bring the bass into play. I often use a trick here. I drag a VU meter onto the master bus (I like to use this one, pictured below).
I set it so that the kick drum peaks at -3 dB (the peak of a VU meter is not the same as the peak of a digital meter like in Ableton Live). I can now increase the bass until both signals together peak between -1 dB and 0 dB. This is a good baseline for the relationship between kick and bass.
At this point, you can see if you need to use EQs and sidechain compression, otherwise, it just won’t work. Then I usually add the main beat elements (hi-hat, snare, clap), then percussion, etc, and then the musical content.
Now comes the most important part! Ableton’s peak meter must not exceed 5 dBFS! If an element pushes the level too high, I have to fall back on my toolbox (volume, pan, milisecond delay, EQ, compression, track limiting, track clipping). This way, I have a dynamic mix for house music that is clean and tidy, which makes it nice and crisp and gives me enough headroom for mastering.
Another advantage is that many plug-ins have analogue hardware models or are directly modeled on them. So, they behave like them. There is something like a golden level, an input level at which the unit sounds best. If I follow the -8/-5 dB help, I can input the devices at a suitable level.
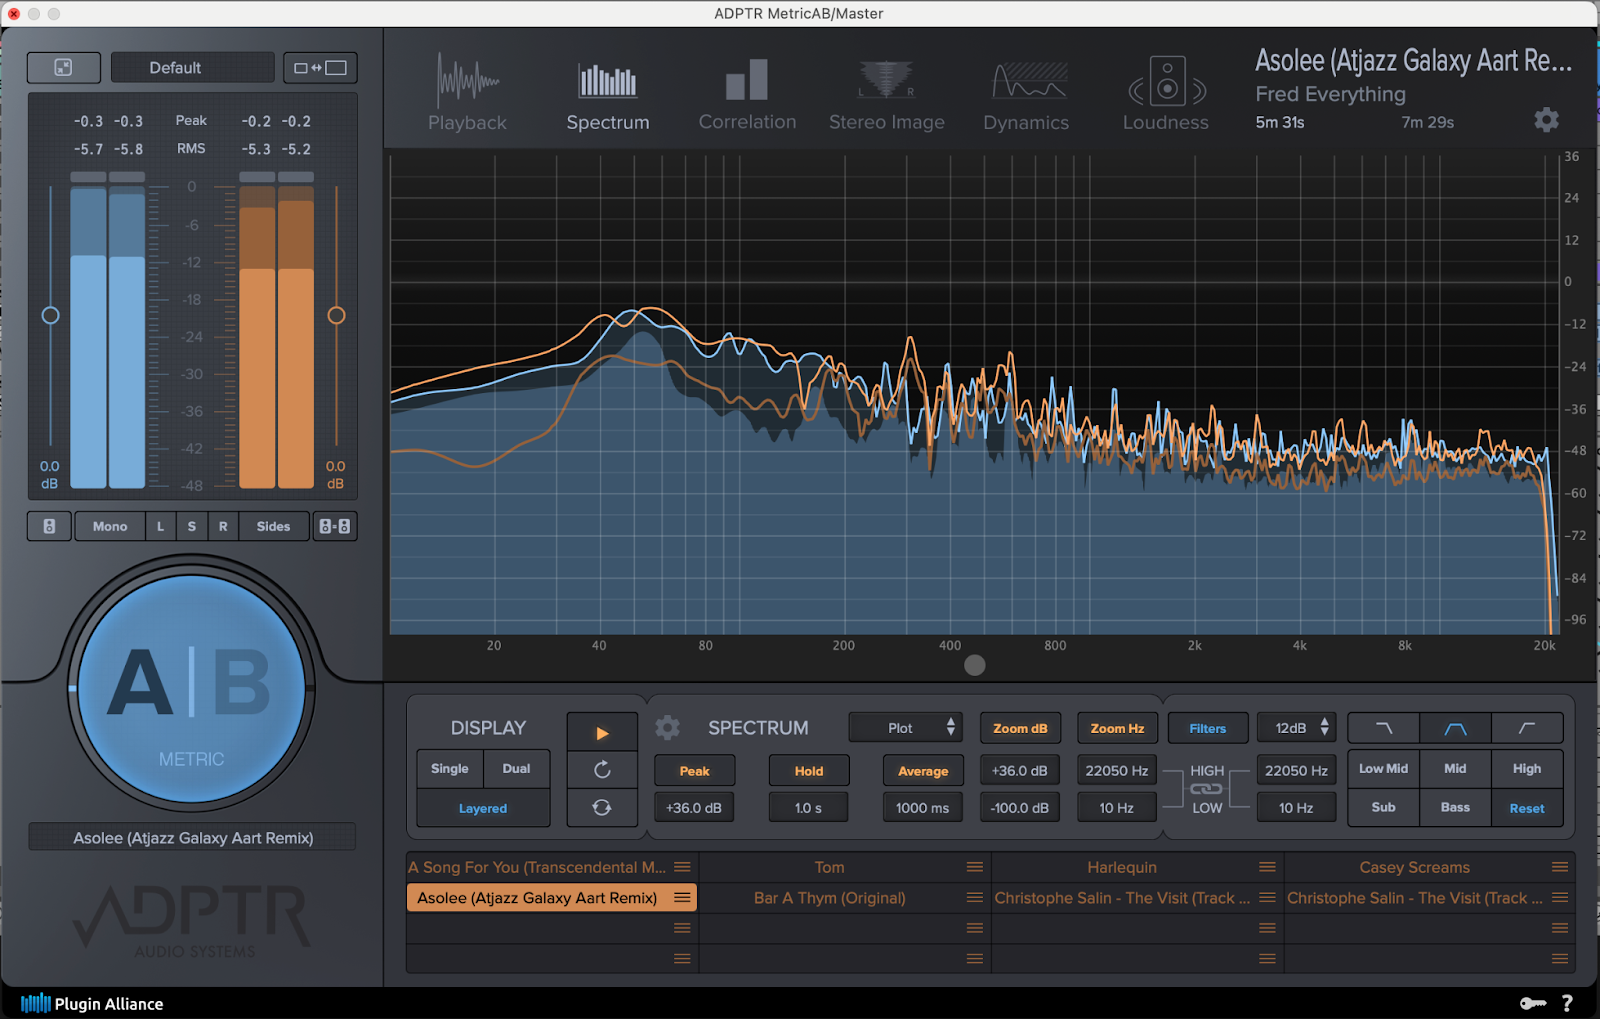
#6: Use A/B Reference Tracks
One tool I use in every session is ADPTR AUDIO Metric AB. I have 2-3 mix templates for each song. It is extremely important to equalise the volume (LUFS) between my track (A) and the reference track (B) when comparing. ADPTR AUDIO METRIC AB does this for me at the touch of a button.
It also allows me to ‘zoom in’. I can apply filters and focus on just the bass or mid-range. I can listen to just the sides or just the mids. It is an indispensable and essential tool for my workflow.
The post Christophe Salin Shares 6 Crucial Mixdown Tips That’ll Make Your Music Cleaner & More Professional Instantly appeared first on Magnetic Magazine.